
Growing Bell Peppers In Pots (Grow Guide)
Disclaimer: As an Amazon Associate, I earn from qualifying purchases. Pepper Geek takes part in various affiliate programs. This means that purchases through our links may result in a commission for us.
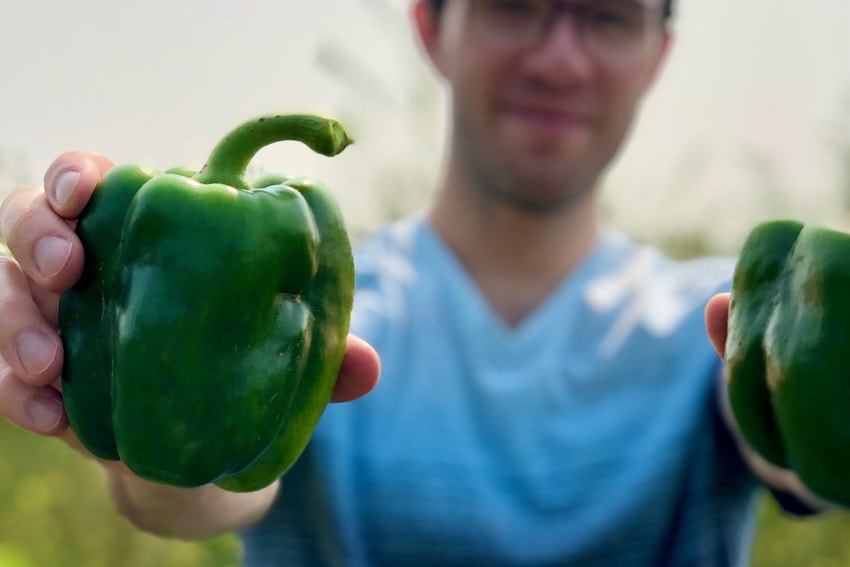
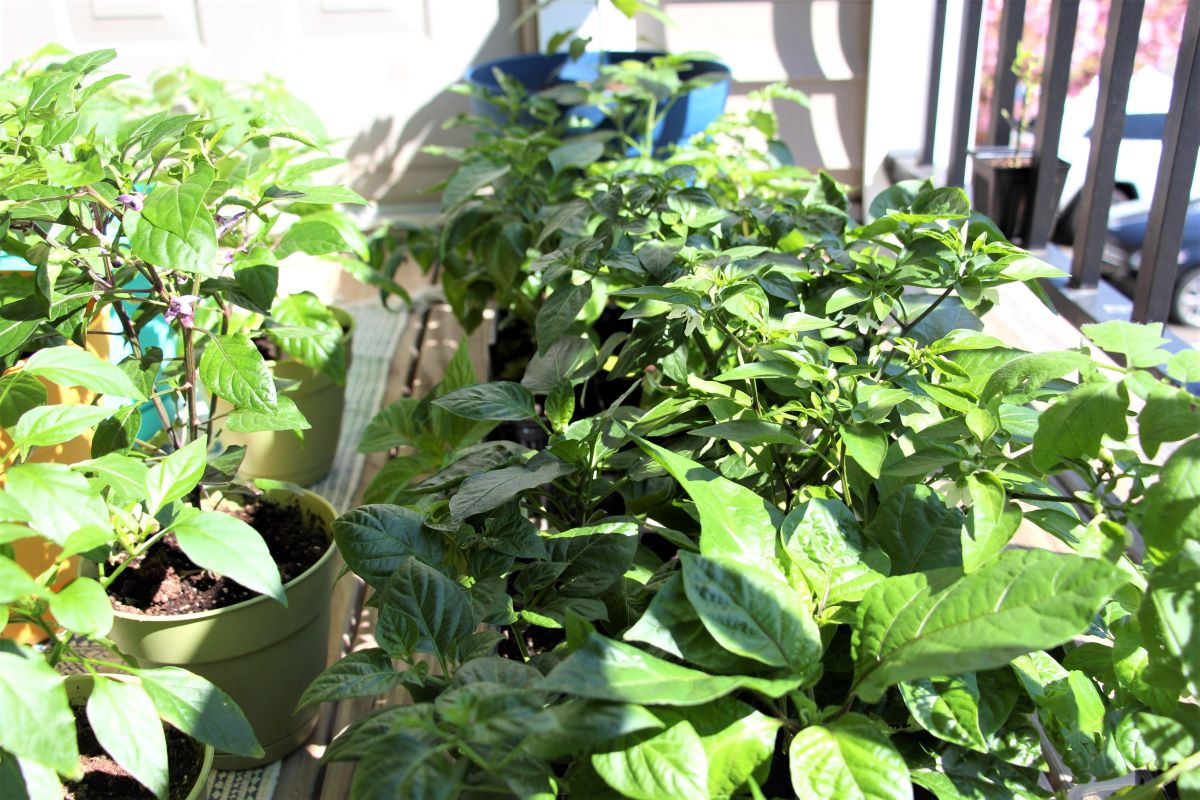
Growing bell peppers in pots is a great way to get fresh green peppers just a few steps from the kitchen. Here at Pepper Geek, we have an ever-expanding container garden. Potted pepper plants turn our porch into a mini pepper forest every year.
Learning to grow your own peppers is exciting. I still remember realizing that I could save seeds from a store bought pepper and grow them into entire plants in my yard. It is fascinating, fun and affordable. And, you can use them for a delicious stuffed pepper soup.
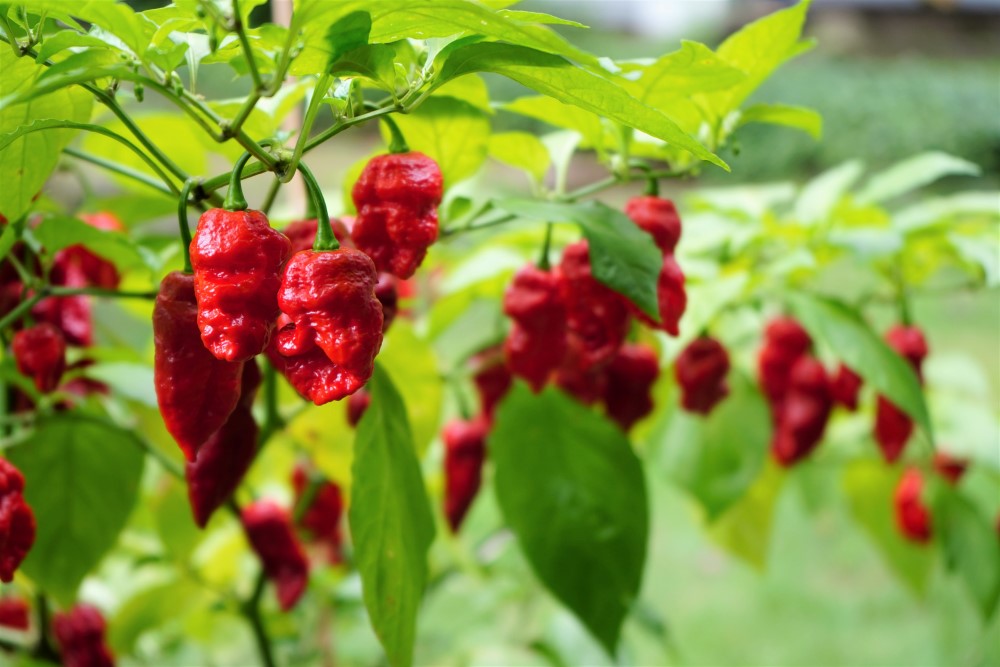
In this article, we have laid out our entire process of growing bell peppers in pots. This guide can also be used for other pepper varieties like banana, jalapeno, serrano and more. However, if you plan to grow super-spicy varieties, start here.
Growing Bell Peppers in Pots (Quick Steps)
Start here for a quick-start guide to growing your bell peppers in pots. We go into greater detail on each step later in the article, but let’s start with a basic overview of the process of growing peppers in containers.
How to grow bell peppers in pots
- Get seeds and supplies.
Buy seeds, pots, soil, fertilizer and stakes for growing your bell peppers. Best to have all the supplies in hand on day 1. Here is a list of our recommended pepper growing supplies.
- Sow seeds indoors.
Start pepper seeds indoors in light, fluffy seed starter mix. Keep the seeds moist and warm to initiate germination.
- Provide light when seeds sprout.
We recommend LED grow lights for seedlings, but a sunny window is acceptable if you’d prefer to keep the lights off.
- Begin fertilizing.
Begin with a light fertilizer feeding to help your young plants grow faster. After 3-4 weeks of growth, the bell peppers will be strong enough to handle full-strength. Here are some recommended fertilizers.
- Transplant into larger pots after 2-3 weeks.
- Prune any early flower buds.
As the plants grow, they may begin to produce flowers while still indoors. We recommend plucking early flowers until the plants have been outdoors in their final planting location for 2-3 weeks.
- Harden off the plants.
Once the risk of frost is gone, and nighttime temperatures are consistently above 55°F, your bell pepper plants can go outside. Make sure to slowly adjust them to the outdoor elements beginning 2-4 weeks prior to moving them outside permanently.
- Water consistently.
Peppers like even watering, but never like to be overwatered! Keep them moist, but never soaked, and allow water to drain away from the plant roots.
- Adjust nutrients as plants produce peppers.
Once bell peppers begin to fruit, they need less nitrogen, and more phosphorus, potassium and calcium to produce lots of peppers. Learn more about increasing yields here.
- Harvest peppers as they ripen.
Bell peppers can be plucked when they have reached a mature size. They are often picked early, while still green in color, but will eventually ripen to a beautiful red color. They are sweeter and more nutritious when fully ripe!
With the basic steps laid out, let’s get into the details of growing bell peppers in pots!
Growing Peppers in Pots vs. Ground
First, I want to illustrate the benefits and drawbacks of growing your peppers in pots. We always grow some peppers in pots, but we also have an in-ground garden.
Benefits
The benefits of growing in pots include better mobility, reduced weeding, and aesthetic appeal. If you have a balcony with good sunlight exposure, you can probably grow bell peppers in a pot!
There are also a wide variety of attractive pots to add some class to your container plants. Finally, thanks to the smaller size, there will be little to no weeding all season long!
Drawbacks
The drawbacks of growing peppers in pots include potentially large footprint, more frequent watering, and smaller yields. While the mobility of a potted plant is great, the smaller volume of soil typically leads to more watering and smaller pepper yields. We also have the problem of underestimating the size of fully grown pepper plants.
Since the cost of entry is relatively low, we always recommend trying one or two potted pepper plants the first time. Get a gauge for how much space you can afford to dedicate to the plants and avoid potentially overcrowding a small balcony space.
Supplies
To get started growing bell peppers in pots, you’ll need to check off a few supply items. Below, we’ve listed all of the essential items you will need to get started.
Check out our recommended supplies for growing peppers here..
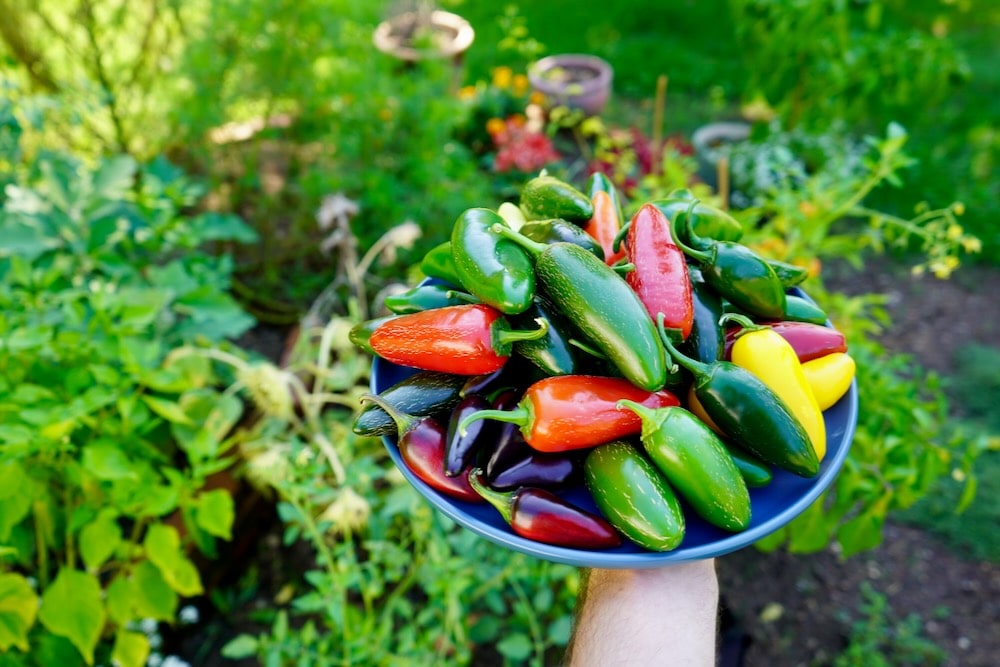
Seed Varieties
Assuming you will be growing your bell peppers from seed, you will have to start by selecting the varieties. There are a plethora of different bell pepper varieties available.
Get some bell pepper seeds here.
If you plan to buy started plants at a local nursery, you can skip ahead to fertilizing below.
Containers (Size and Type)
This is a big question. How big should your containers be for growing bell peppers? We recommend using a container with at least 3 gallons of volume. For bell peppers, the bigger the better.
If you have the space for a larger pot, you will get much better yields with 5-10 gallons of volume. Choose a container that suits your planned location for the plant. However, pots less than 3 gallons will not produce as many full-sized peppers.
We reuse our colorful Saturn Bloem planter pots every year. Get some here.
Tip: If you are reusing an old pot, clean it out thoroughly. If they housed plants with diseases or bacteria, they can spread to the new soil and plants.
In addition to a large pot, you will need some seed trays for starting your seeds. These can be found at any local nursery or home improvement store. They typically come in 6-cell units and are cheap.
We use these sturdy containers for bottom watering the young plants indoors.
Grow Lights
Young bell pepper plants require strong light to get a healthy start. If you are growing from seed, you should consider investing in an indoor grow light.
This is our light of choice (see it on Amazon).
We also wrote an article all about the best grow lights for peppers here. There are some great affordable options the can last many years.
Soil
If you are planting from seed, you can start by using a seed-starter soil. These soil mixtures contain no nutrients. If you do choose to plant in seed starter soil, be sure to begin with a light fertilizing schedule as soon as the seedlings sprout.
If you are planting directly outdoors (started plants, etc.), choose a well rounded soil from your local nursery. Anything with a good balance of nutrients will do the trick.
Don’t overthink this step. MiracleGro, FoxFarm, or Espoma will all work fine for potted pepper plants. We will be fertilizing regularly throughout the season to ensure the bell pepper plants have everything they need to thrive.
Fertilizer
The last essential item is fertilizer. We get a lot of questions about the best fertilizers for pepper plants, so we wrote an article.
Our quick recommendation is FoxFarm’s Fertilizer Trio pack on Amazon.
These products work well, come with easy instructions, and keep the fertilizing process painless.
Planting Bell Pepper Seeds
With all of your supplies in hand, the first step is to plant your bell pepper seeds. Before you just slap a few seeds into some soil, let’s get the basics right.
When to plant
The first step is to know when to plant your bell pepper seeds. This is going to depend on your hardiness zone. Read our article on when to plant peppers to determine your indoor planting date.
Simply put, plant bell pepper seeds indoors 6-8 weeks before the last chance of frost in your location. For us in zone 6b, we plant our pepper seeds around early to mid-March, with a last frost date in early May.
You can also use Almanac’s handy tool to determine when your last frost date is. For locations that have Winters, you need to determine when the last chance of frost happens. This will determine when you should plant your seeds indoors.
How To Plant Bell Pepper Seeds
Once your planting date arrives, you can prepare your seed trays. There are a few basic steps to increase the likelihood of successful germination.
Here are the steps:
Pre-moisten the soil. Prepare the seed starter mix soil by moistening and thoroughly mixing. The soil should be wet enough to stick together when squeezed, but should not drip water. This allows the soil to better absorb water as the seedlings grow.
Fill seed cells with soil. Once the soil is moistened, fill each seed cell with soil and pack it down. Don’t pack too firmly or the roots may have difficulty growing.
Plant seeds 1/4 inch deep. Plant your bell pepper seeds about 1/4 inch deep in each cell. We usually plant 2-3 seeds in each cell in case some don’t germinate. Once the seedlings sprout, you can prune away the weaker looking plants, leaving one in each cell.
Lightly water the soil’s surface. Once the seeds are planted, lightly water with a spray bottle or gently with a watering can. Try not to disturb the position of the seeds in the soil.
Keep warm and fan daily. With the seeds planted, all that is left is to keep the temperature relatively warm (ideally 75-85°F), and the humidity high. The seed tray that we use comes with a humidity dome. Keep this on, opening daily to aerate, until the seedlings sprout (3-7 days).
If you don’t have a humidity dome, simply spritz the surface of the soil to keep the seedling moist but not soaked. If your air is very dry, you may need to water lightly from the bottom.
Early Bell Pepper Plant Care
How you care for your bell pepper plants while they are young will impact their long-term success. This means providing adequate lighting, nutrients, and water.
Lighting For Seedlings
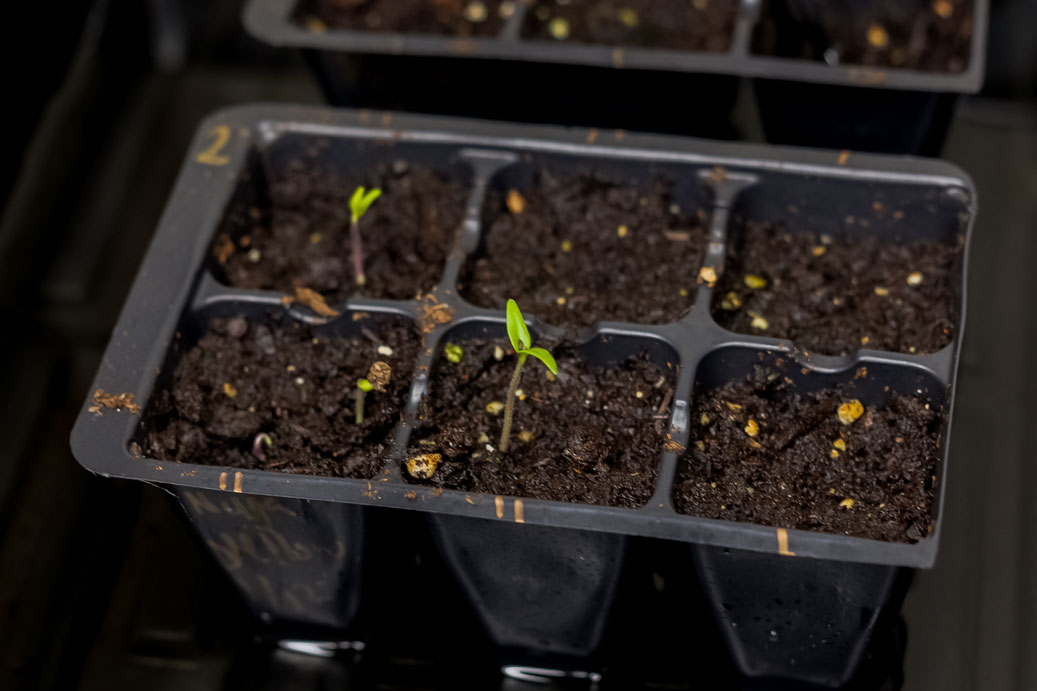
Once the seeds sprout, remove the humidity dome and turn on your grow light. If you don’t have a grow light, give the seedlings as much natural light as you can. A sunny window is not ideal (your plants may become tall and leggy), but will suffice.
If you do have a grow light, give the plants 12-15 hours of light, and 9-12 hours of darkness each day. If you are using an LED light, keep it 12-15 inches away from the leaves to avoid curling leaves.
Fertilizing Seedlings
As soon as the seeds sprout, begin fertilizing at 1/2 the recommended strength. While the plants are small, they don’t require as many nutrients. We use FoxFarm’s Grow Big fertilizer at 1/2 strength at this stage.
Watering Seedlings
Water when the first 1/2 inch of soil becomes dry. Don’t allow the seed cells to dry completely. If you use a seed tray, you can water from the bottom by pouring water beneath the seed cells. The holes in the bottom will soak up water until the surface is moist.
When bottom watering, wait until you see that the surface is wet, and then dump out any excess water from the tray to avoid overwatering.
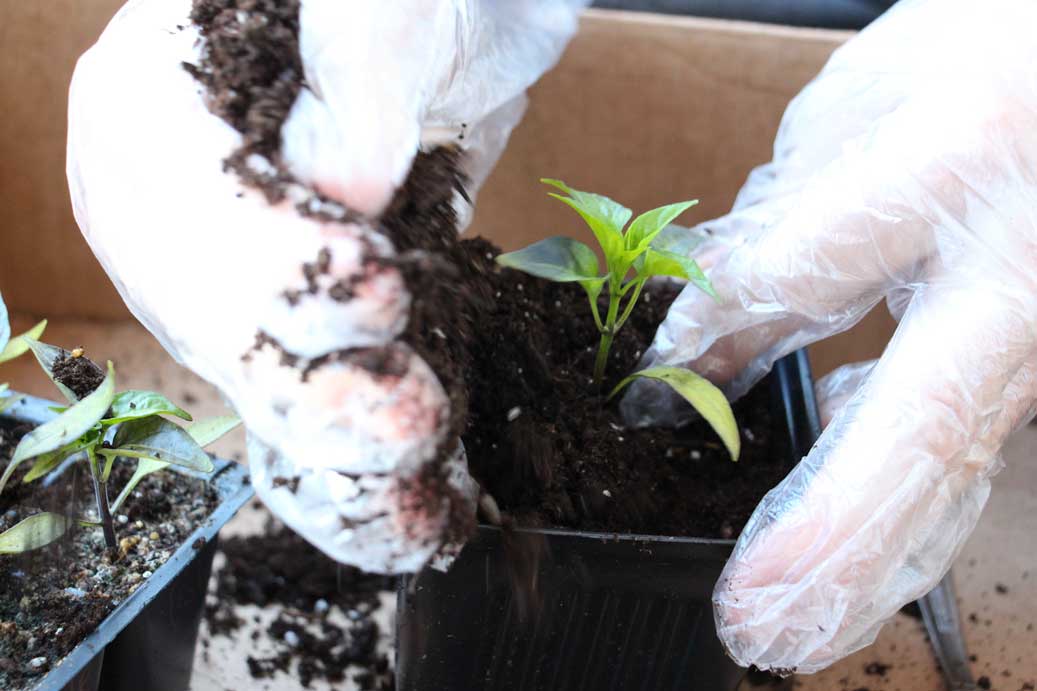
Transplanting Bell Peppers
Once your seedlings grow to about 3-4 inches tall, they are ready to be transplanted into larger pots. This typically takes 2-3 weeks. We use these 3.5 inch pots as a transitioning pot before planting in a final container.
If you prefer, you can transplant directly into your large, final pots. However, we always recommend transitioning up in stages. The plants seem to grow faster and stronger by doing so.
To transplant, follow these steps:
Prepare potting soil. Pre-moisten your potting soil with enough water to dampen the soil. Mix thoroughly. We also like to amend the soil with bone meal and epsom salt before transplanting (especially if you are going directly into the full-sized pot).
Fill new pots with soil. After the soil is prepared, fill each pot and pack it down gently. If you are planting many different varieties, be sure to label the new pots at this point to keep organized.
Dig a small hole in each pot. Using your fingers or a spoon, dig out a hole large enough to fit the seedling’s root ball.
Plant the seedling. Gently remove the seedling, soil and all, from the seed cell. Move the entire plant into the hole of the new pot. Cover it with soil and pack down. Water immediately and place the plants under your lights.
Your plants may have a period of slowed growth right after transplanting. This is completely normal, and growth should pick back up after a week or so. Bell peppers grow quickly, and the plants should begin to flourish soon.
At this point, you should change to full-strength fertilizer at the recommended frequency. The transplanted plants should go back under the grow lights until they are ready to move outdoors.
Read more about transplanting pepper plants in our article here.
Moving Bell Peppers Outdoors
Once the end of Winter is approaching, you should begin to transition your bell pepper plants to the outdoors. This process is called hardening-off the plants.
Learn how to harden off peppers properly.
The goal is to avoid sunscald and/or heat stress on the plants from direct sunlight. The sun’s light is much more intense than grow lights, so the plants need to adjust to it gradually.
Here is a rough schedule for transitioning:
- 1st week: 20 minutes of sunlight, or 1 hour of shade
- 2nd week: 1 hour sunlight, or 3-4 hours of shade
- 3rd week: 1.5-2 hours sunlight, or all day in shade
- 4th week: Transplant outdoors permanently
If you are transitioning to a balcony that only gets morning sunlight, you can likely transition in less time. However, moving from indoors to full sun should be done carefully.
Keep an eye on the plants and watch for signs of sunburn or wilting leaves. That is another benefit of growing peppers in pots – you can always take them back indoors if you need to.
Bell peppers will be fine with nighttime temperatures above 50°F. Ideal daytime temperatures are around 75°F, though the plants can handle much higher temps.
If the temperature is set to drop below 40°F at night, cover the plants or bring the pots indoors overnight to avoid potential death.
You can use a bed sheet or blanket to cover your plants in cold weather. Just be sure to use stakes or other supports to keep the cover from crushing the foliage.
Caring For Bell Pepper Plants in Pots
Once your bell peppers are transitioned to the outdoors successfully, it is time to provide care and be patient as the plants develop. This involves a few essential tactics.
Plucking Early Flower Buds
For the first 2-3 weeks after moving outdoors permanently, you should pluck away flower buds. This directs energy into root and foliar development instead of producing fruits. After this period, you can allow the flowers to develop and become peppers.
Read more about picking early flower buds here.
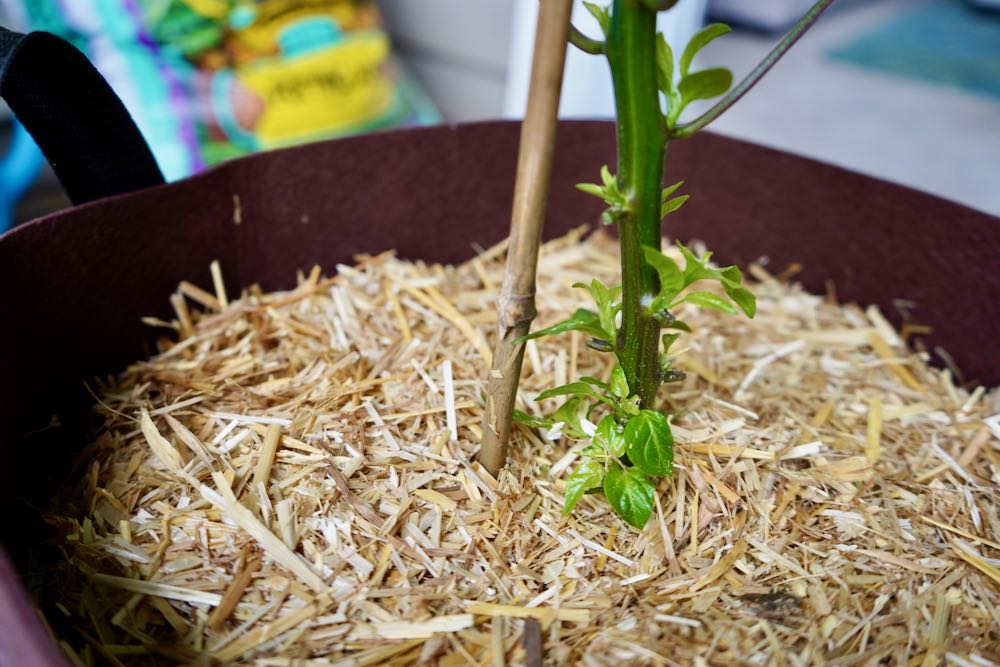
Staking
Bell peppers tend to be on the tall side, so providing support can be helpful. Drive a sturdy stake deep into your final pot, just beside the base of the main stem. You can then loosely tie the plant to the stake using Velcro. Learn more about staking peppers here.
Sunlight
All pepper plants will develop best under full sun conditions. This means around 12 hours of direct sunlight each day.
Under full sun, peppers are particularly vulnerable to sunscald in the hot afternoon sun. To avoid potential issues, you can provide shade around 3 to 4 PM. You can position the pots near an object that casts shade at this time if possible.
If you don’t have a location with full sunlight, don’t worry! Bell peppers can still produce peppers with just morning or afternoon sun. In this situation, pepper plants will grow in such a way that the leaves are always facing the sun.
Fertilizer
The fertilizer in your potting mix isn’t enough to get the most out of your potted bell pepper plants. We recommend using FoxFarm’s Trio of fertilizers and following the recommended schedule.
Grow Big is used during early stage growth to support strong roots and lots of healthy leaves. Then, switch to Big Bloom or Tiger Bloom to support healthy flower development.
Essentially, your early fertilizer should contain more nitrogen to support leafy growth. Later stage fertilizer should contain reduced nitrogen levels and more phosphorus for fruiting.
Watering
One of the most common issues with bell pepper plants is overwatering. New growers can often over-care for their plants.
This is important: Peppers prefer dry conditions over being too wet.
In order to avoid the many issues that are caused by overwatering, allow the soil to become dry between watering. You can use your finger to test beneath the surface of the soil to make sure the first inch or so is dried out.
Bell Pepper Plant Problems
Unfortunately, everything doesn’t always go as planned. Here are some of the most common issues you may face while growing bell peppers in pots.
Curling Leaves
By far the most commonly seen ‘issue’ is curling leaves. This may be caused by a few things, but is most likely nothing to worry about.
Read our article about curling pepper leaves here if you run into this issue.
Yellowing Leaves
Another very common issue is pepper leaves turning yellow. Once again, this can be caused by several factors. The most common is a nutrient deficiency, so be sure you are fertilizing.
Read all about pepper plant leaves turning yellow here.
Disease and Pests
Common diseases on peppers include bacterial leaf spot, mosaic virus, and verticillium wilt. As for pests, watch closely for aphids, spider mites, and thrips.
Learn all about each disease in our article on pepper plant problems here.
Flowers Falling Off/No Peppers
If your bell peppers are dropping their flowers, or are otherwise not producing peppers, there are a few possible reasons.
High temperatures can cause flowers to drop off. Overwatering can also cause poor yields.
Another possible cause is poor pollination. Make sure that pollinators (bees, insects) have access to your plant’s flowers. If you suspect poor pollination, you can do it manually by brushing your finger gently across all of the flowers, spreading the pollen between them.
Leaves Falling Off
Some pepper leaf drop is natural. However, if a majority of your leaves are dying and falling off, read our article about leaf drop here. The common causes are cold weather, nitrogen deficiency, disease, and over-watering.
When To Harvest Bell Peppers
So you’ve cared for your bell peppers and the peppers are popping up all over the plant! But when exactly should you pick your peppers?
Most bell peppers take about 75 days from the date of being transplanted outdoors to develop ripe fruits. If you want red bell peppers, allow them to turn color while still on the plant.
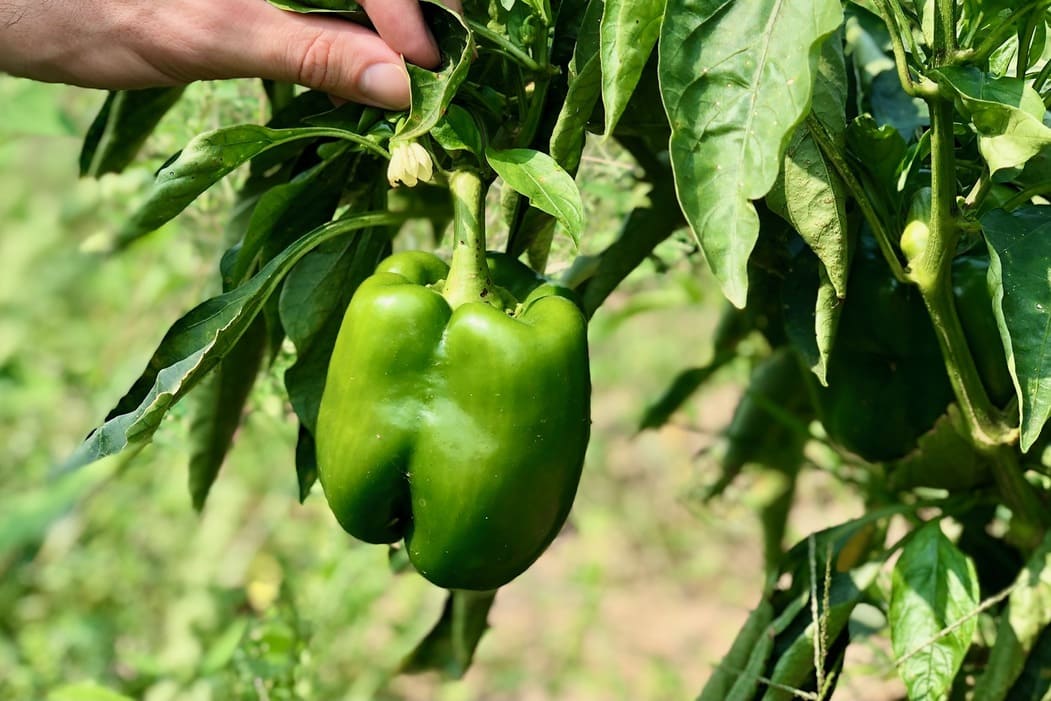
All bell pepper varieties will eventually change color when fully ripe, however it isn’t necessary to allow them to fully ripen. Green bell peppers can be picked as soon as they reach a mature size.
Will green bell peppers turn red after being picked?
Unless the peppers have already begun to change color on the plant, bell peppers will not turn red once removed from the plant. To achieve a full red color, the peppers should be left on the plant to ripen.
How Many Bell Peppers Per Plant?
So, how many bell peppers can you expect to harvest per plant? This will vary based on growing conditions.
In ideal conditions, bell pepper plants will typically produce 5-10 full-sized peppers per plant. This can vary based on soil fertility, size of growing container, amount of sunlight, and many other factors.
Smaller pepper varieties will produce in greater numbers, but since bells are so large, fewer peppers will grow per plant.
If you live in a climate with a shorter growing season, your yields will typically be smaller. If you have a long summer, your peppers will continue to produce until the weather gets cold.
What To Do With Fresh Bell Peppers
Once you’ve begun harvesting peppers, you’ll want to use them! We often find ourselves with more peppers than we expected. Here are a few ideas for using fresh bell peppers.
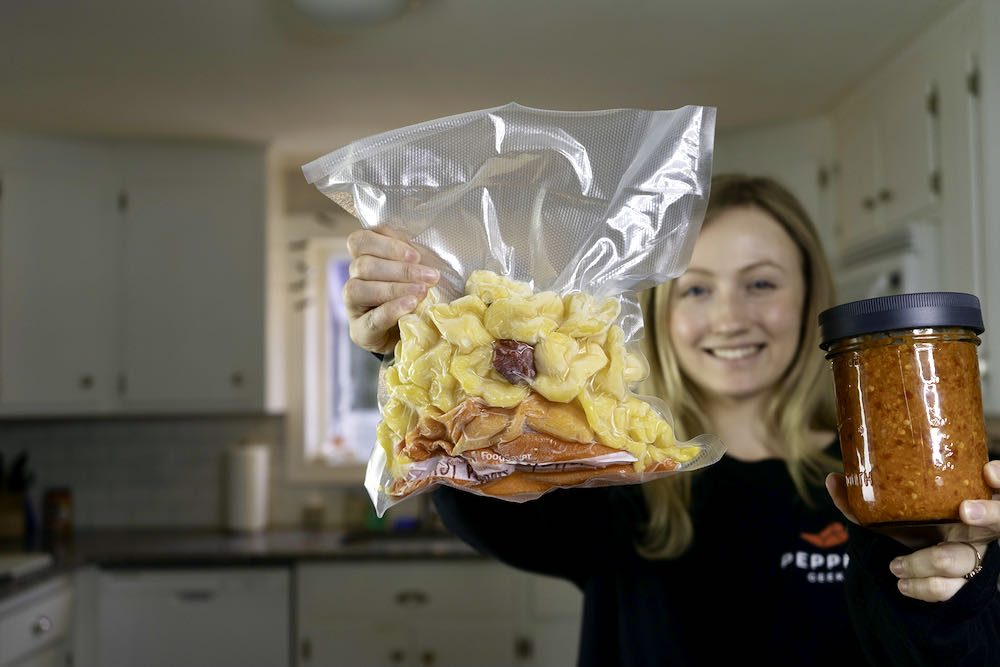
Preserving Bell Peppers
Preservation is an easy way to keep your bell peppers for use throughout the year. For sweet peppers, we usually just freeze them in bags for cooking later.
You can also dehydrate red bell peppers to make homemade paprika.
Cooking With Bell Peppers
Bell peppers are a common food in many different cuisines. Try using them in any of these dishes:
- Stir fries
- Salsas
- Guacamole
- Stuffed peppers
- Cowboy caviar
- Roasted peppers
I’m sure you have plenty of other ideas on how to use your fresh peppers, so be sure to share them with us!
Conclusion
I hope this guide to growing bell peppers in pots has been successful for you! If you have any questions, search our site for more helpful pepper growing info.

Calvin
One of the original Pepper Geeks! When Calvin isn’t gardening or learning more about peppers and botany, he might be traveling new places or playing some music.
We love kielbasa on a bun with sautéed peppers and onions. So good!
Hi trying to save capsicum seeds and some are brown ,will they germinate ?
Darkening seeds are usually dead, but you never know. Can’t be sure until you run a germination test!
@peppergeek, Yea there usually dead thanks for the info ;)’
Thank You so much for all this wonderful Information! I can’t wait to Try Growing my Own Peppers!! Prices on Foods these Days are Astronomical & as a Disability Pensioner I find it Very Hard to Purchase many foods I just Love!! I have always enjoyed a simple Stir Fry for dinner & Prices have Stopped me Purchasing Peppers and Other Foods .
Thank Again I will be Sure to Send you an e-mail and Perhaps a Picture or Two of what We Accomplish!
Pepper Geeks United! Maggie Mae.
Thank you so much for this guide! Really helpful. I am starting to grow hot peppers since I have always loved the heat. I currently have 3 cayenne pepper plants. However, I am planning on growing Habanero this week. I live in CA, and during that time of year, it’s already pretty hot. Just wondering if I could start seedlings outdoors (still in a pot though, on my balcony), so that I may avoid the “hardening off” process of transplanting pepper plants outside ? (I am still struggling with that with my cayenne pepper plants, they take for ever to get accustomed and constantly wilt due to the hot sun despite good amount of watering. If you could let me know if that’s possible, that would be great! Thanks
@Stella, I agree Stella, We call it Capsicum here in the UK, i faced it too
Dear Patrick Sons we here at Lauffer Middle School are confused on how you guys started to call it Capsicum in the UK