
Growing Cayenne Peppers: From Seed To Hot Sauce
Disclaimer: As an Amazon Associate, I earn from qualifying purchases. Pepper Geek takes part in various affiliate programs. This means that purchases through our links may result in a commission for us.
Cayenne peppers are incredibly useful for making meals spicier and more flavorful. To top it off, growing cayenne peppers is surprisingly easy. You can grow them in containers, or in your raised beds for a big yield of fresh hot peppers in the late summer.
In this article, I’ll share how to grow cayenne peppers from seed to harvest. We have grown hundreds of pepper varieties over the years, so I’ll go through everything you need to be successful in your first year. Let’s get started!
In this article:
Seeds and Supplies
To start growing cayenne peppers, you will need some supplies. Now this can be as simple or advanced as you’d like, but these are the essentials we use to grow cayennes:
- Seeds
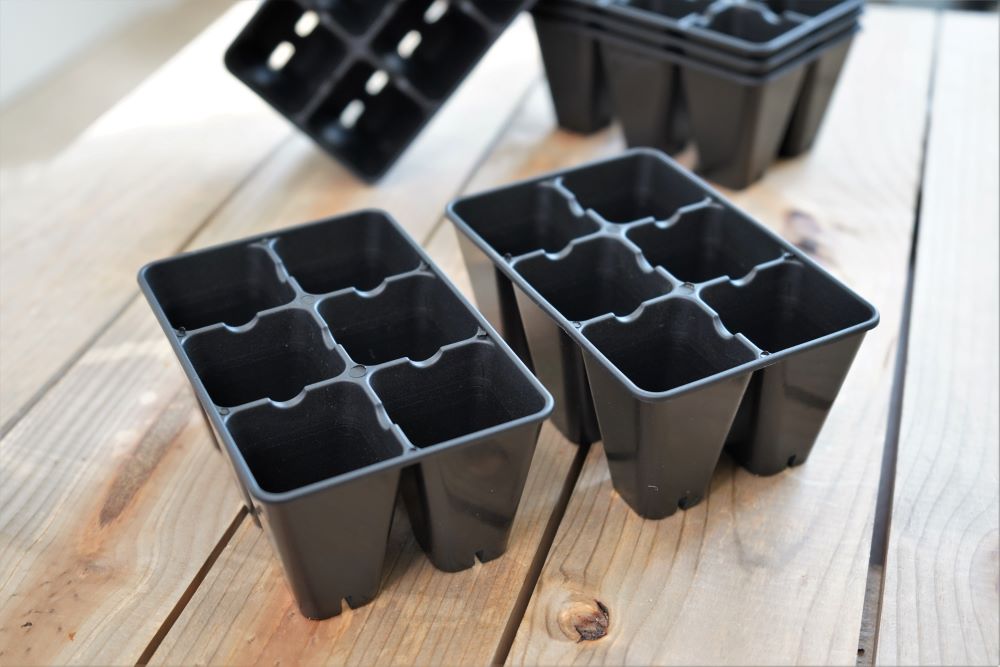
- Seed cells
- Tray and humidity dome
- Medium pots (we use these 3.5″ plastic pots)
- Potting soil (this FoxFarm soil works great)
- Fertilizer (Miracle Gro organics is an affordable option)
- Spray bottle (this pump sprayer is our favorite)
Tip: Try our seed starter kit for a high-quality bundle.
Optional (recommended):
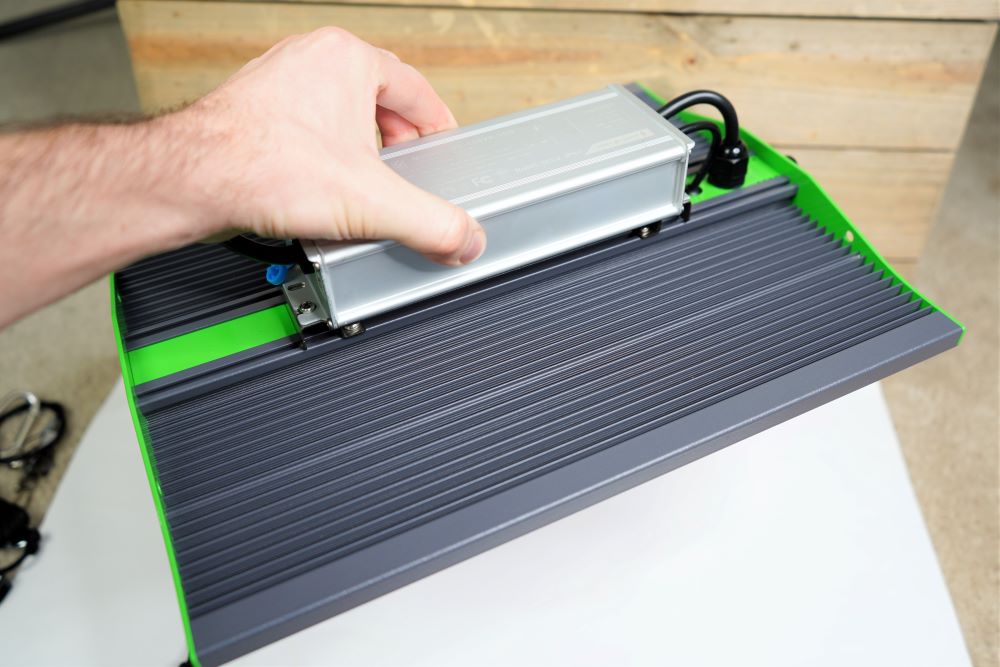
- Grow light* (this ViparSpectra light is our current light)
- Seedling heat mat (increases germination speed)
- Seed starting mix (fluffy soil for seed starting)
- Large containers (if growing in pots, these grow bags work great, or any 12″+ pot)
- Thermometer
- Outlet timer
- Gardening gloves
- Pruning shears
- I consider a grow light essential to growing cayenne’s from seed, but if you live in a warmer climate or have a greenhouse it may not be required.
This may seem like a big list of items for growing your cayenne peppers, but it is basically just a seed-starting setup. With these supplies, you can grow pretty much anything, from tomatoes, eggplants, and bell peppers, to lettuce, kale, and of course other peppers!
Choosing the right cayenne seeds
Cayenne peppers come in many different types. There are hybrids, heirlooms, long types, short types, super spicy, and even non-spicy types. So, which one should you grow?
Check out our list of the best tasting cayenne peppers. We even did a video where we tasted all of them!
We ran a test and grew 8 different cayenne types to find our favorite. In the end, the Pepper Geek choice was the Cayennetta hybrid. It was delicious, the plants were compact and bushy, and the yields were incredible! This cayenne also won the AAS award in 2012.
Our picks:
Planting Cayenne Peppers
Once you have your supplies and seeds in hand, you are ready to start growing.
Wait – but when should you plant the seeds?
This is an important thing to get right. Cayenne peppers need a fairly long growing season to produce ripe red peppers. To guarantee ripe peppers, we start pepper seeds indoors in early spring.
When to plant cayenne seeds:
u003cpu003eIn short, u003cstrongu003eplant cayenne pepper seeds indoors about 6 weeks before your last spring frost dateu003c/strongu003e. For example, here in zone 6a, we plant our cayenne seeds in early April.u003c/pu003e
How to plant cayenne pepper seeds:
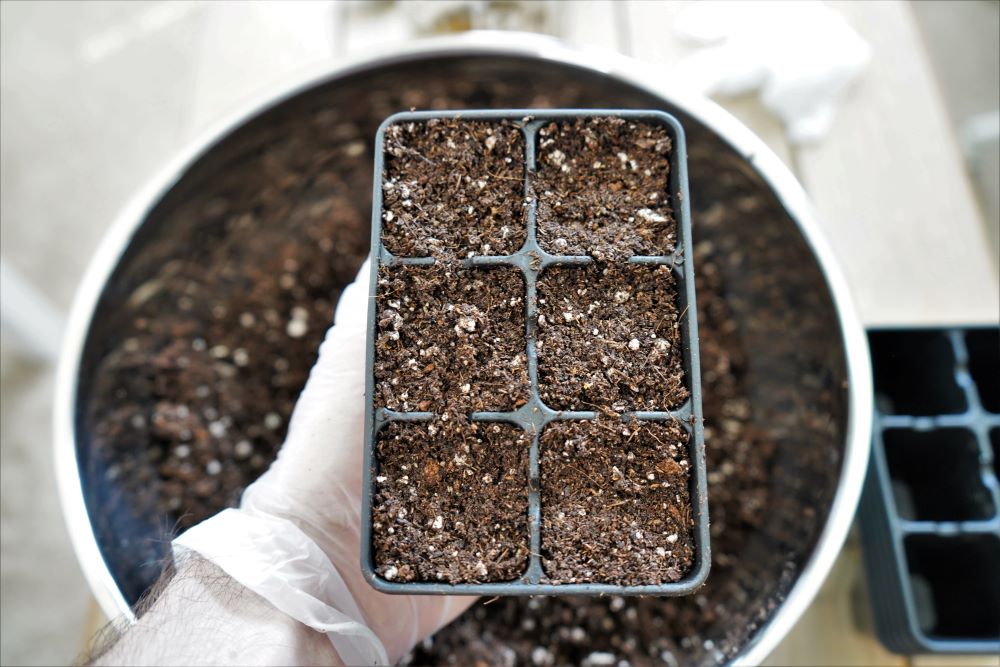
- Prepare potting soil.
Pour potting soil or seed starter mix into a mixing bowl. Make sure you have enough soil to fill your seed cells. Add a bit of water and mix thoroughly until the soil is damp, but is not soaking wet.
- Fill containers with soil.
Add the soil to the seed cell or small pots and tamp it down. Add more soil until the cells are filled almost to the top.
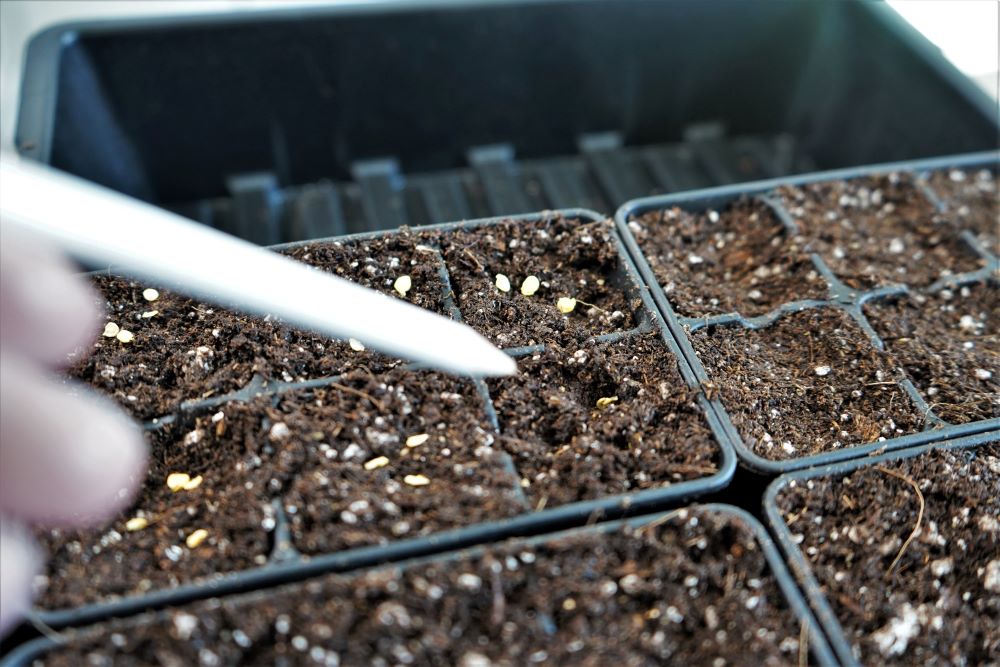
- Place cayenne seeds on the surface.
To start, place 1-2 seeds on the soil in each container.
- Press seeds into soil, about ¼” deep.
Using a pencil tip, press the seeds below the soil, about ¼” deep. Then, cover the seed with the surrounding soil. Now is a good time to make note of which containers have been planted to avoid double sowing.
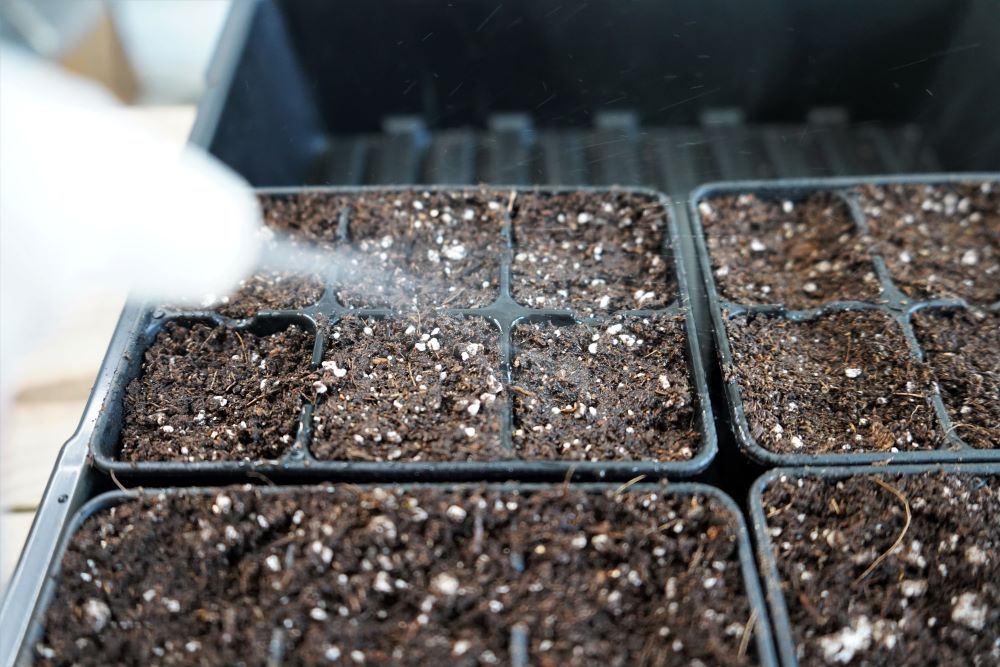
- Mist the soil surface thoroughly.
In order to thoroughly moisten the seeds, use a spray bottle to spritz the soil surface with water. I usually give each seed cell a good 5-6 sprays to ensure the seed is wet.
- Place the planted seed cells under a humidity dome.
Never let a seed dry out before it germinates! To avoid this, we always use a humidity dome to trap moisture.
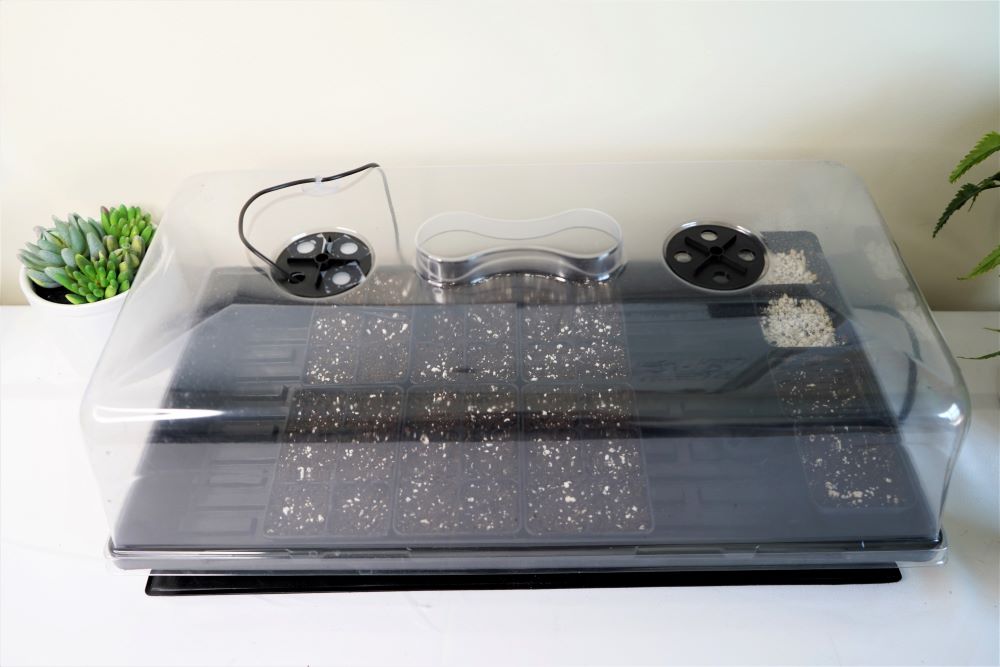
- Place the tray in a warm location.
We use a seed heating mat to increase the temperature of the soil to around 80°F. This drastically speeds up germination. Otherwise, find the warmest spot in your home.
- Refresh the air daily.
Every day, open up the humidity dome and refresh the air inside. While you do this, take a look to see if any of the soil looks dry. If it does, spritz it generously with water to keep the seeds wet.
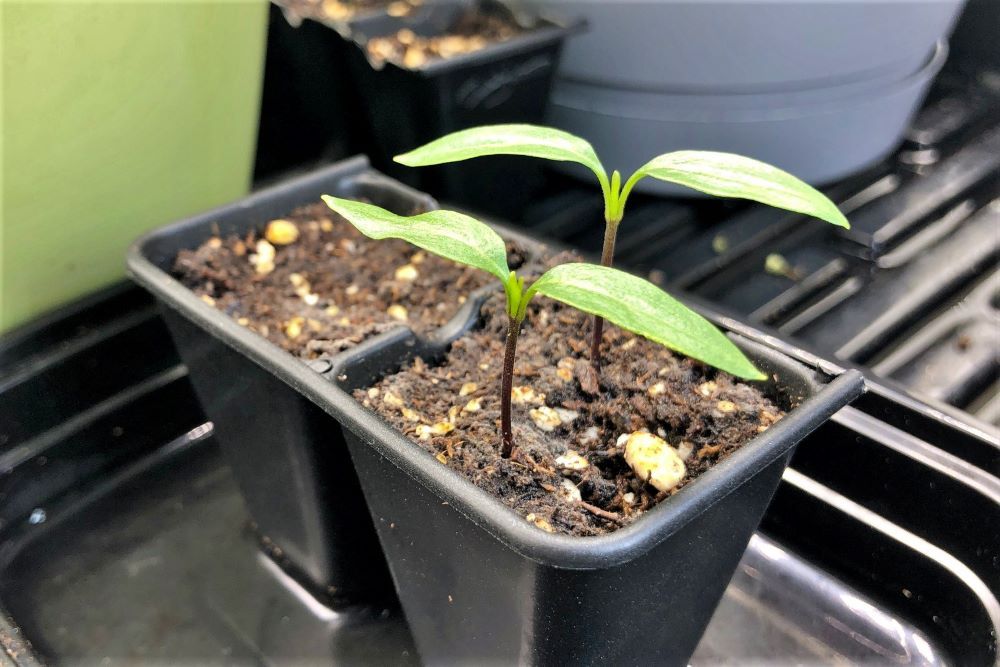
- Watch for sprouts!
In 5-10 days, your cayenne seeds should be sprouting! However, don’t be discouraged if they take longer. Older seeds can take 2+ weeks to emerge, and colder temperatures can slow down germination significantly.
As an alternative to using seed cells, you can start your seeds directly in a larger container. Depending on how many plants you are growing, you could sow seeds directly in 3″ pots (like our colorful Pepper Geek pots).
After your cayenne pepper seeds sprout, it is time to get them into bright light to help them grow! We use grow lights, but in a pinch, a sunny window will work.
Seedling Care Indoors
Peppers come from a warm, tropical climate. This means that they enjoy warm weather, bright sunshine, and medium to high humidity.
Lighting
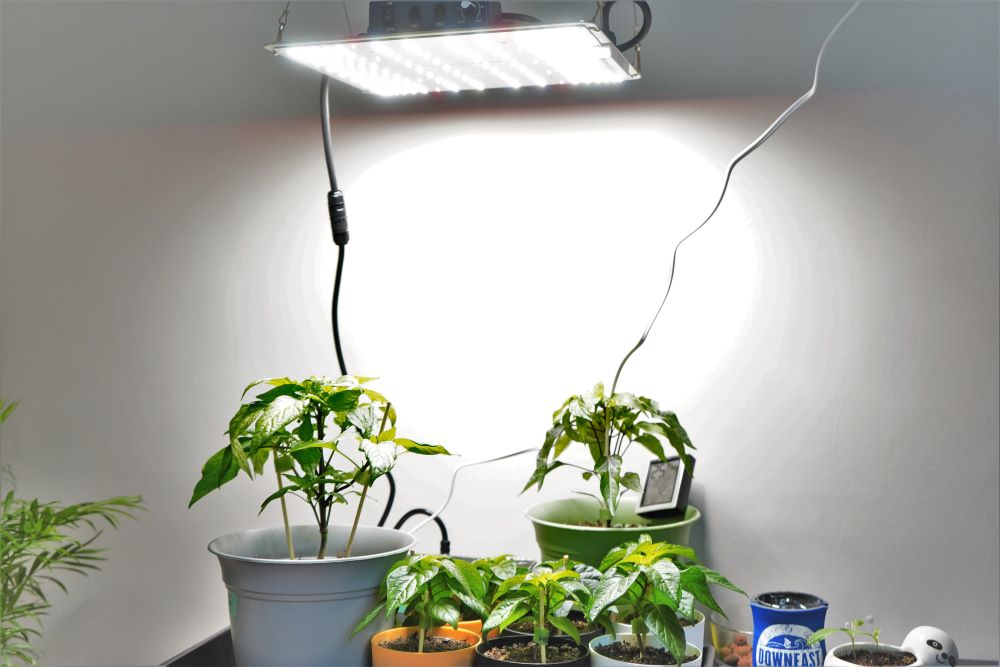
Probably the most overlooked requirement for growing strong pepper plants is good indoor lighting. The first 6-8 weeks of your plant’s life will be spent indoors where the sun barely shines!
We have a complete guide to grow lights for your peppers here.
To compensate, I highly recommend using a grow light. LEDs are becoming more and more affordable, and do an amazing job at growing strong cayenne pepper seedlings.
We have many grow lights, but here are our current favorites:
- ViparSpectra XS 1500 Pro. Great budget light with enough power to grow peppers indoors year round.
- Spider Farmer SF1000. Highly efficient light with great usability features, but pricey.
- Jump Start seed starting system. Fluorescent bulbs don’t last as long, and must be closer to the plants, but work well.
Any of the above lights work well, but there are countless options. Our general advice is to go with a full spectrum LED light with at least 60W of actual power (knock-off brands like to confuse us with how much power their lights actually use).
Note: If you’d rather not buy a grow light, place your plants in the sunniest window in your home. This means a South-facing window with no obstructions that can cast shade on the window.
Hanging height and scheduling
As soon as the seedlings sprout, place them under your grow lights and remove the heating mat and humidity dome. Set up the light using the manufacturers recommended hanging height and power level.
For example, the ViparSpectra P1500 should be hung around 18″ high at 50% power. However, this varies from one light to another. Most LEDs are strong and must be hung fairly high above the plants.
As for a lighting schedule, we want our young cayenne pepper plants to focus on growing lots of leaves and a sturdy main stem. To achieve this, give the plants 16 hours of light per day, and 8 hours of darkness. We use a simple outlet timer to set this up.
Environmental factors
Once you have your plants under grow lights, they will begin to photosynthesize and grow. However, there are a few other factors to consider in order to get the best growth possible.
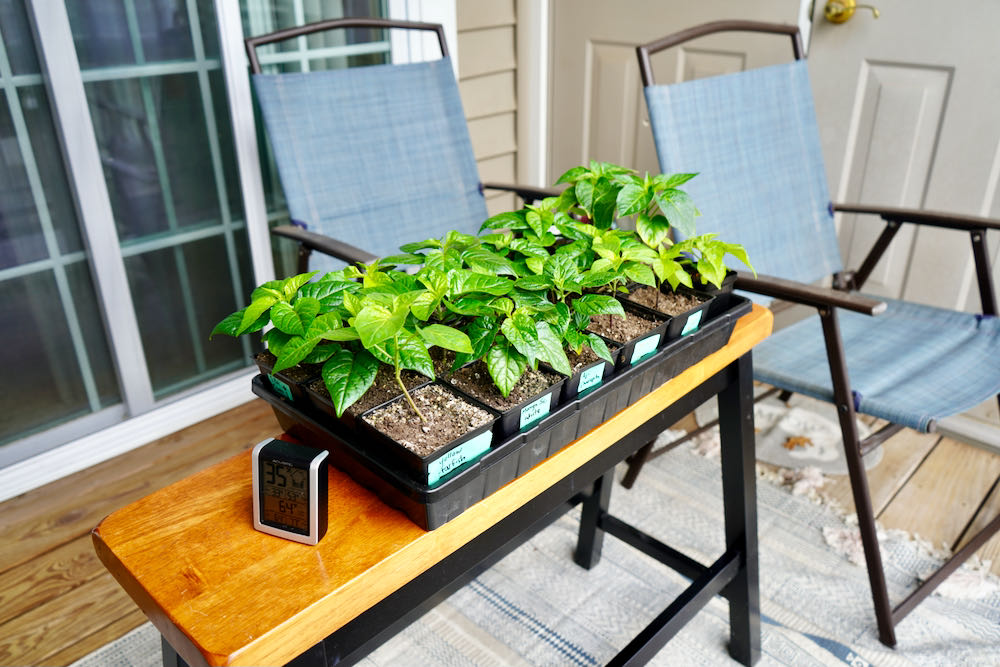
- Temperature. The ideal temperature range is between 70-75°F during the day, and a bit cooler at night. The grow lights will help warm the growing area a bit, and most homes are in a good range. If your seedlings are kept too cool, you run the risk of getting damping off disease – not good!
- Watering. As your peppers grow, they will use up the water from the soil. We prefer to bottom water while the plants are young. This means pouring water into a tray and allowing the seed cells to soak up the water from the drainage holes. After 15-30 minutes, discard the excess water to prevent water-logging the soil.
- Humidity. Like I said, peppers like relatively humid air. This can be tough in the late winter when the heat is still running, drying out the air. Use a thermometer/hygrometer to monitor if you’d like, and add humidity to reach 60-70% if possible.
- Wind. We always keep a small fan running in our grow area. The gentle breeze helps build a strong main stem while the plants are young.
Early growth is slow. Don’t expect the plants to explode into large bushes overnight. However, cayenne peppers tend to accelerate as they grow larger.
Transplanting
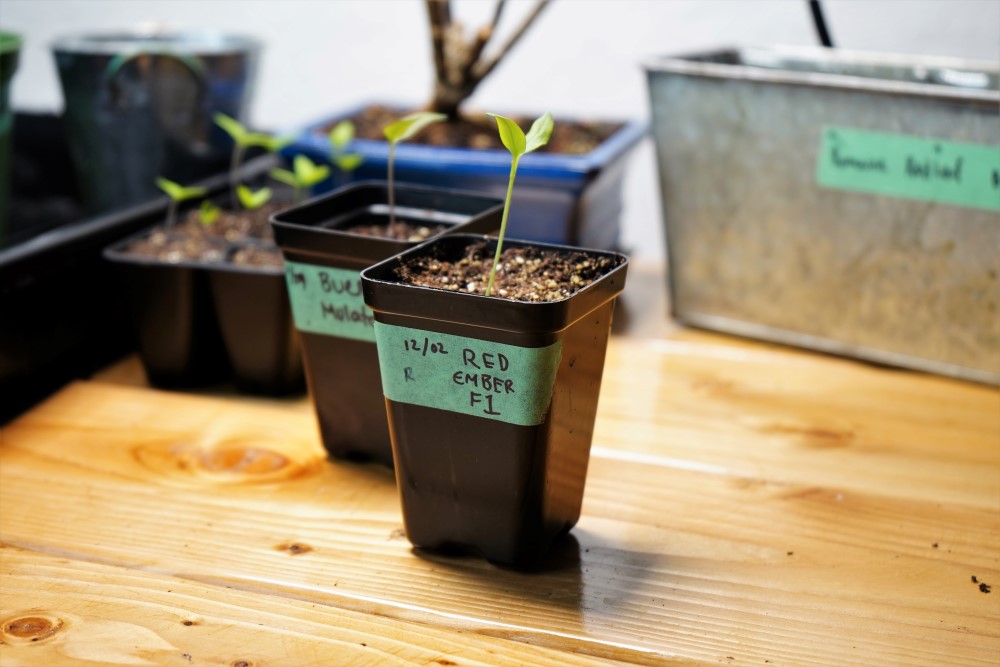
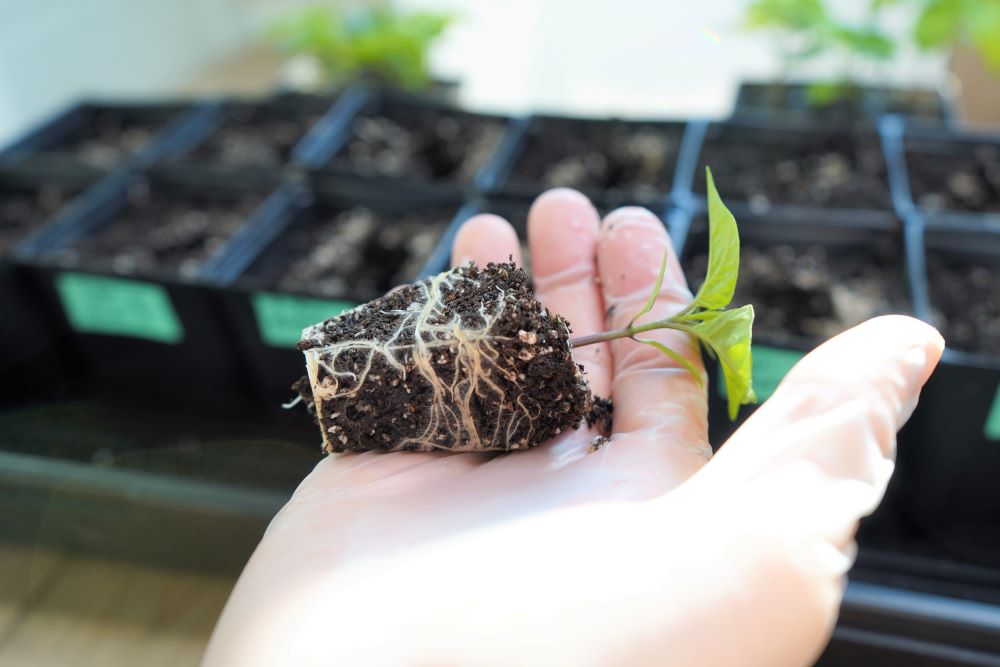
About 2-3 weeks after sprouting, your cayennes will be ready to move out of their seed cells and into larger containers to keep growing. This means we have to transplant the small plants into larger pots with more soil. If you started seeds directly in larger containers, this step can be skipped.
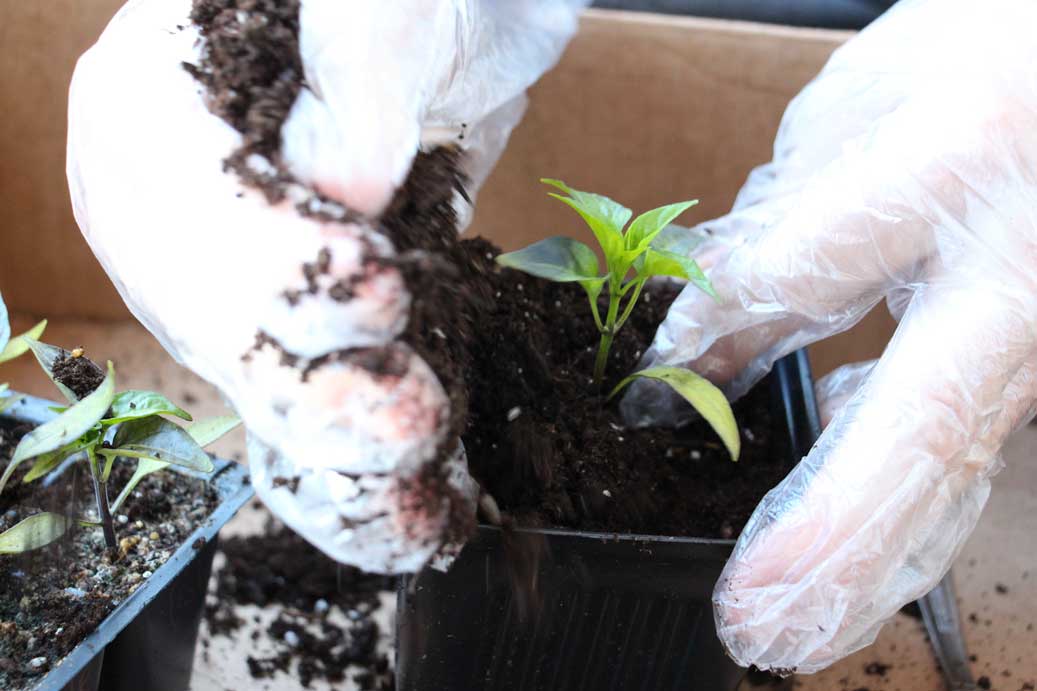
Transplanting works a lot like planting seeds:
- Pre-fill 3.5″ pots with damp potting soil and compress slightly.
- Dig out a hole in the soil for the seedling to fit into.
- Gently remove the seedling from the seed cell by massaging the outside first.
- If the roots are overgrown, gently tease them to loosen the rootball.
- Place the seedling into the new pots and fill in with surrounding soil.
- Compress lightly and water immediately.
How do I know when they’re ready? Seedlings that are ready to transplant will have roots reaching the bottom and sides of the seed cell. You can look at the bottom of the seed cell to observe any roots poking through the drainage holes. Or, gently pull the whole plant out to see how developed the roots are.
After transplanting, place the plants back under grow lights to continue growing. With more soil, they will grow larger and soon be ready for the transition outside!
Moving Plants Outside (Start Here For Store-Bought Plants)
Once your plants are about 6-8 weeks old, they should begin the transition outside. As the weather warms up, you should gradually adjust the plants to the outdoors. This process is called “hardening off” the plants and is very important for cayenne peppers.
Hardening off pepper plants
u003cpu003eTo harden off your cayenne plants, start on a cloudy day and move the plants outside for about 1 hour. The next day, increase the outdoors time by about 30 minutes. Continue for about a week until the plants can handle full sun, all day long.u003c/pu003e
It is very important to avoid temperatures below 55°F during the transition in spring. Keep an eye on overnight temperatures to avoid “confusing” or stressing the plants while they are young.
Once the overnight temperatures are consistently above 55°F, cayenne plants can be moved outdoors permanently. If you are transplanting into the ground or a raised bed, it is normal for the plants to take several weeks to adjust. During this transition, the plants may seem “stunted,” but patience is key.
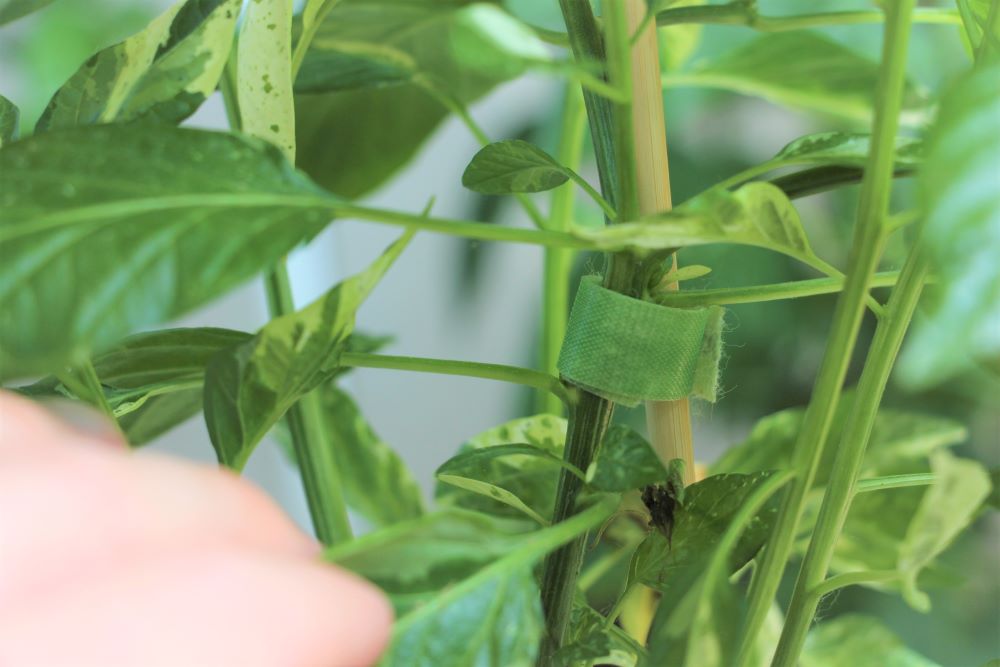
Wind can easily damage young pepper plants, so it is helpful to stake them as soon as they go outside. Also, if you have one, set up a tomato cage around the plant’s final location. These work well to support the weight of peppers later in the season.
Fertilizing Cayennes
Pepper plants tend to grow exponentially fast through the season. They start slow, but gain momentum as they grow more leaves and weather conditions improve.
The best way to keep them growing strong is to fertilize accordingly. Young cayenne plants (seedlings through to about 4-5 weeks) should get less potent fertilizer. Most store bought potting soils have enough fertilizer to grow seedlings for the first few weeks.
Once the plants are growing more rapidly, nutrients can be applied to potted plants. However, keep an eye out for nutrient burn, especially if you are using chemical fertilizer. For in-ground plantings, I prefer to simply amend the soil in the spring with compost and/or all-purpose organic fertilizer.
Signs of under-fertilized plants:
- Yellowing leaves (chlorosis)
- Slow or stunted growth
With peppers, I have found that less is often more. In fact, too much nitrogen can send pepper plants into a “growth pattern,” resulting in lots of lush foliage and few fruits. Don’t over-feed the plants, stick to a conservative schedule, and watch for signs of nutrient deficiency.
Watering
Throughout the season, you will likely have to water your cayenne plants on a regular basis. Always keep an eye on the weather for any rain, and avoid over-watering at all costs.
In short, cayenne plants typically need around 1″ of water per week. This can vary greatly based on the temperature, wind, humidity, container size, and size of your plants.
For example, potted cayenne plants will need much more frequent watering. In-ground plants will need less, but the plants can still dry out in very hot weather.
Signs of a thirsty plant:
- Dried out soil 1-2″ below the surface
- Wilted leaves (very dry)
- Yellowing leaves
- Leaf or flower drop
If you notice any of these symptoms, give your plants a drink. However, if you are already watering regularly, these signs can indicate other plant issues.
Tip: Always apply a layer of mulch around the base of your cayenne plants. This helps maintain even moisture, insulates the roots from temperature swings, and protects the plants from soil borne pathogens.
The pH of water can also impact growth. The ideal range is between 5.8-6.8 pH, but some variation will not be an issue. If your plants just don’t seem to grow, try checking the pH of your water with a pH meter. Highly alkaline or acidic water can lock out nutrients, so adjustment may help.
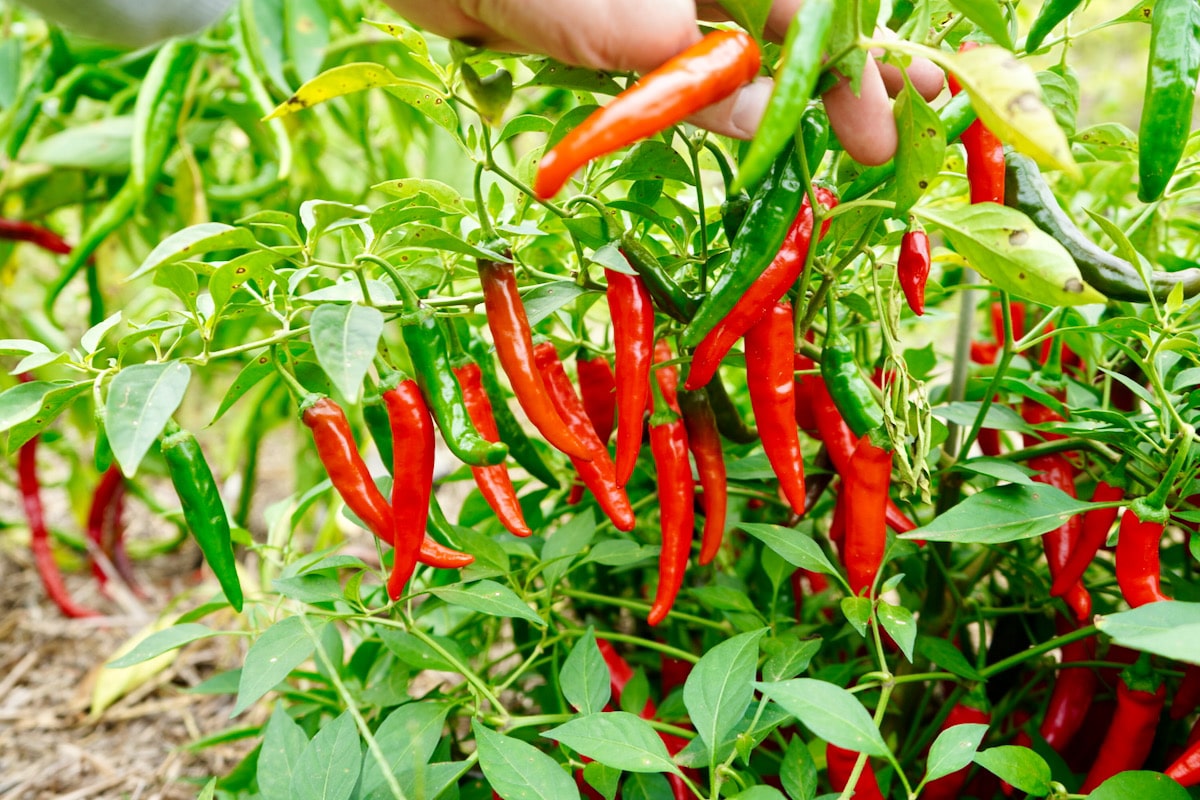
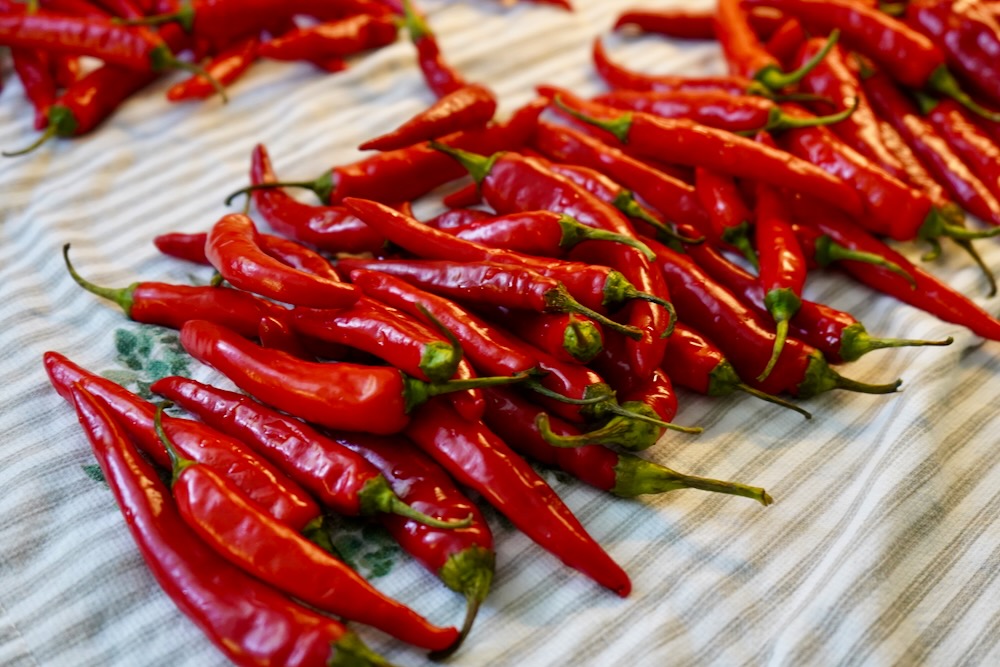
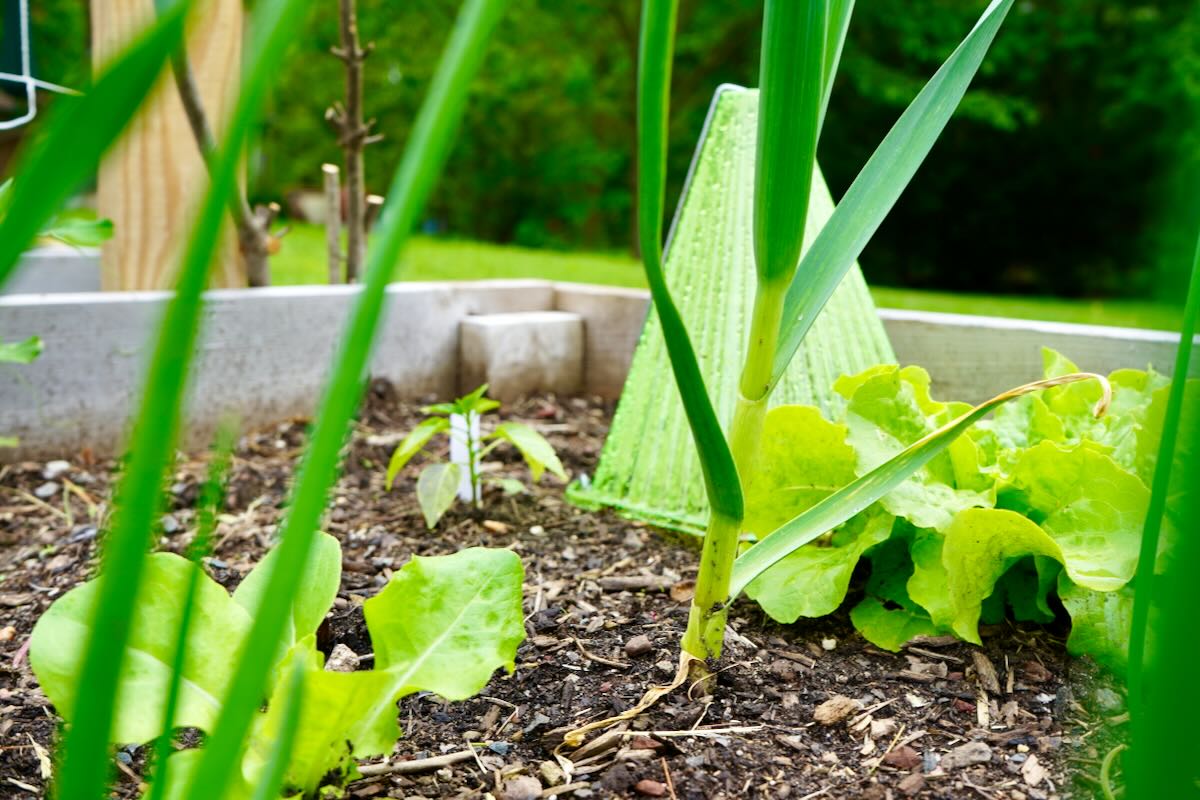
Harvesting Cayenne Peppers
After your plants reach a full size, they should begin to produce flowers. These will eventually become the fruits!
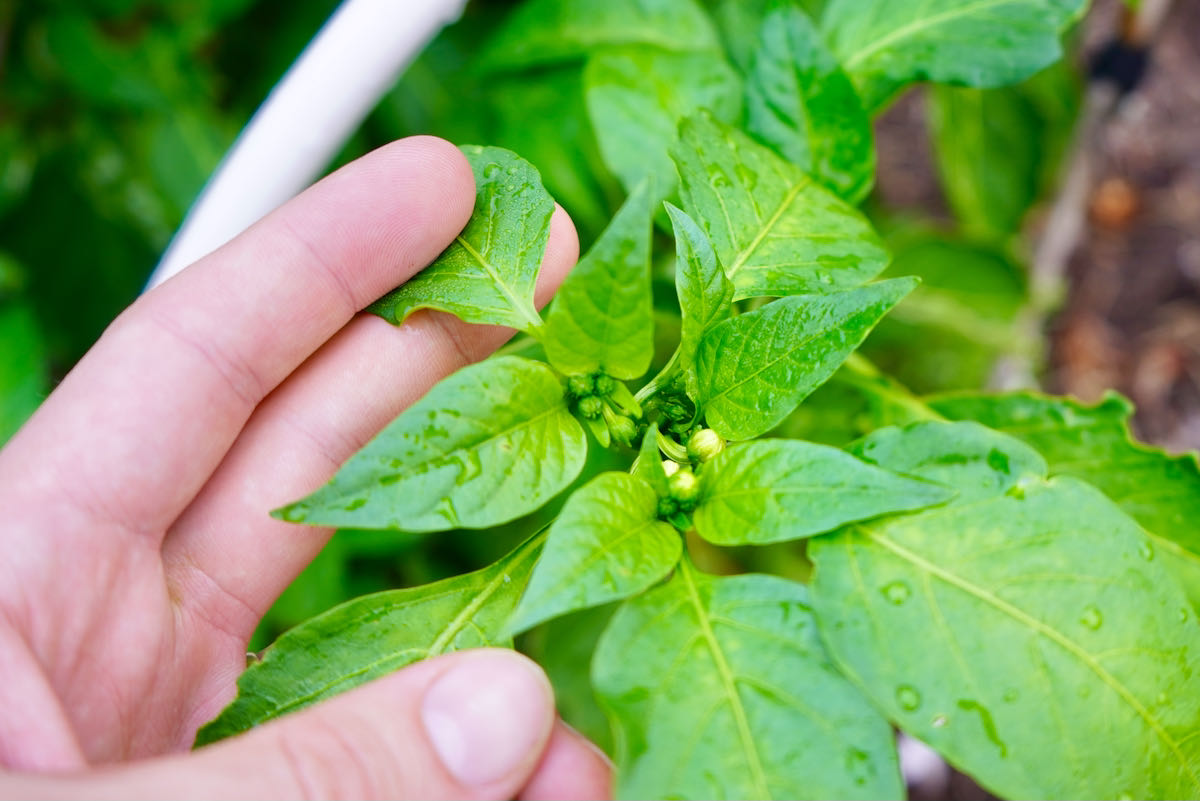
Tip: If your plants produce flowers while they are still young, pick them off. If you see early fruits forming before moving outdoors, pick those too. These could steal energy away from the plant growing larger.
When to harvest
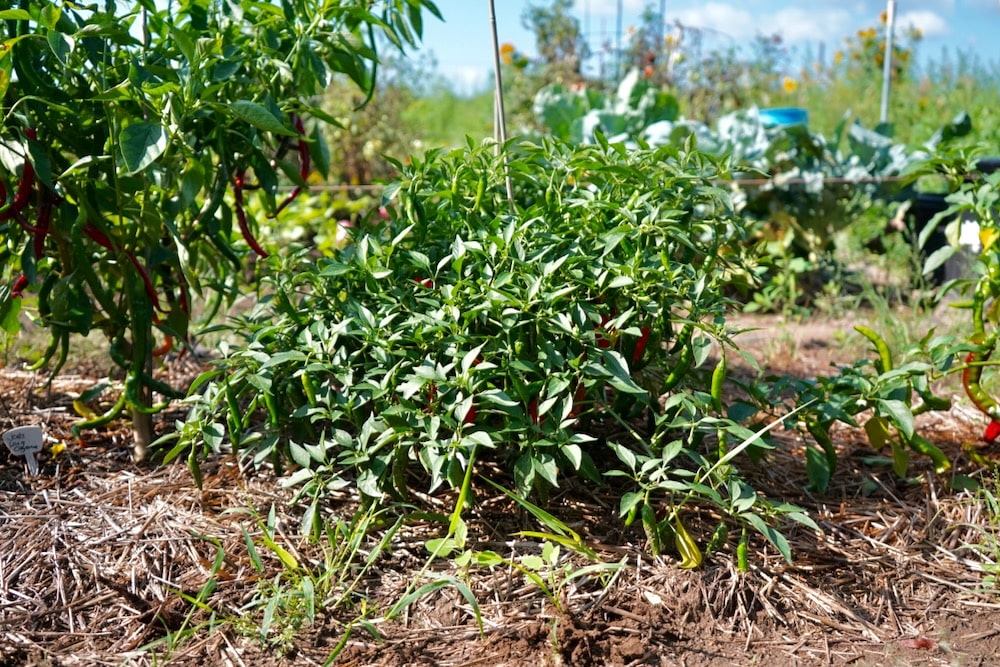
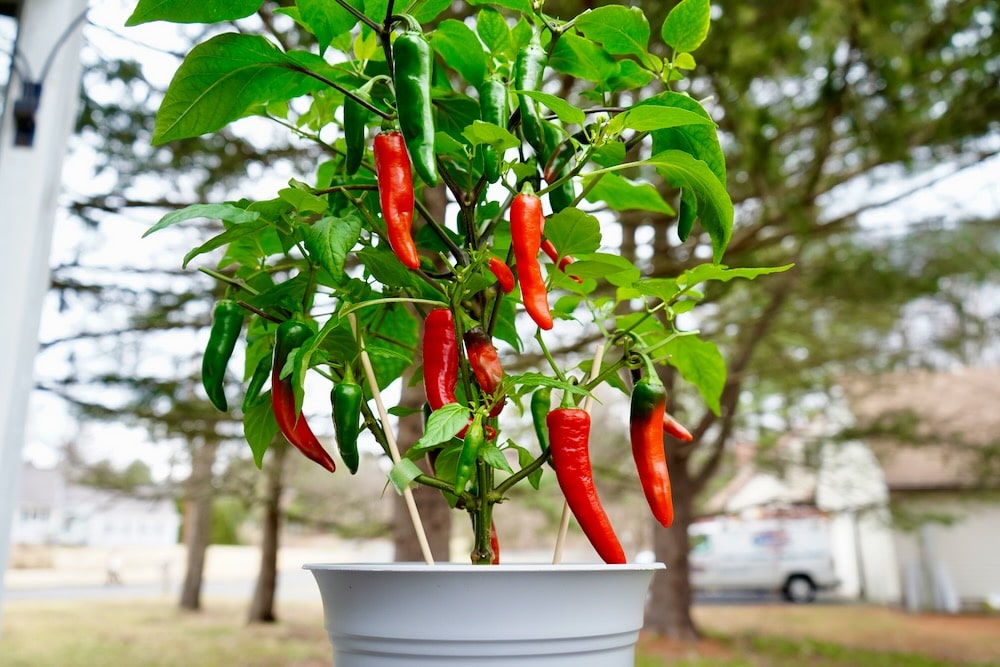
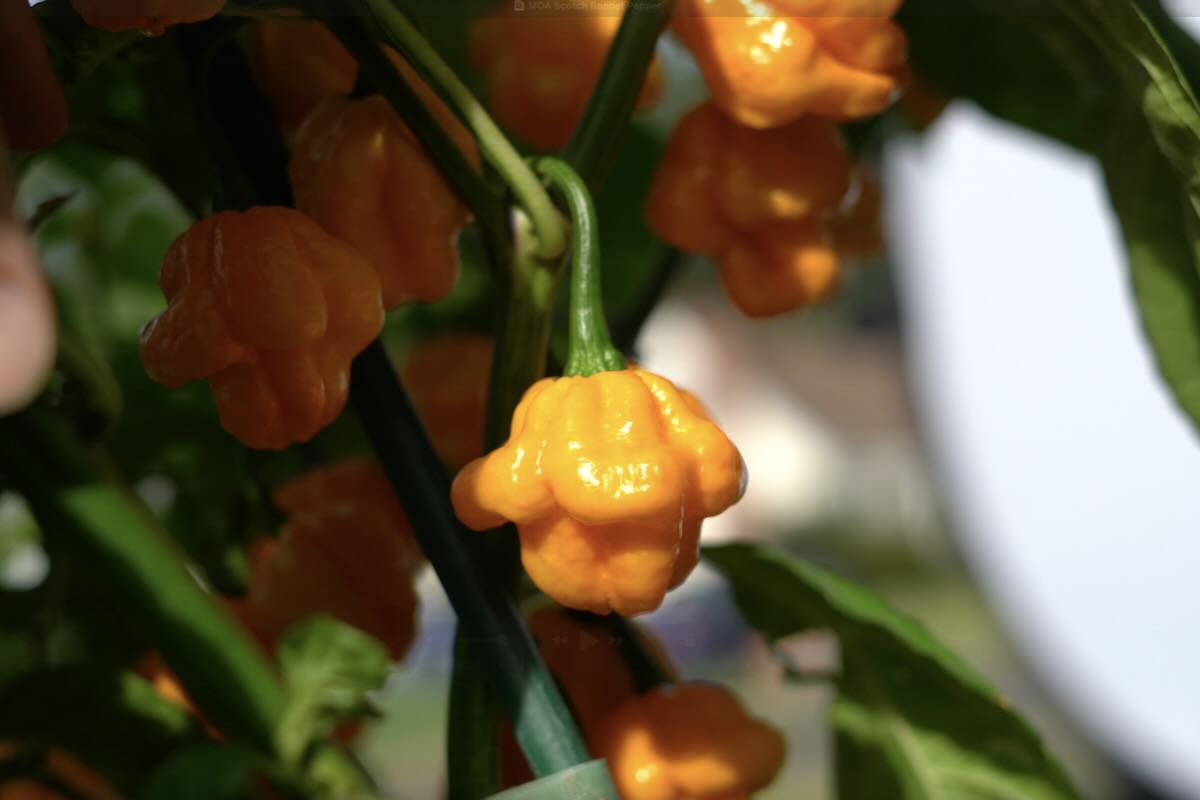
With cayenne peppers, it is very easy to know when to pick. Once the peppers turn from green to red, they are ready for harvest. Pick them as they ripen for the best flavor, and to encourage the plants to keep producing more fruits! Learn more about harvesting cayennes.
Different varieties ripen at different times, but here in New England, most of our cayennes start ripening in August. From there, they will produce right up until the cold weather arrives in October.

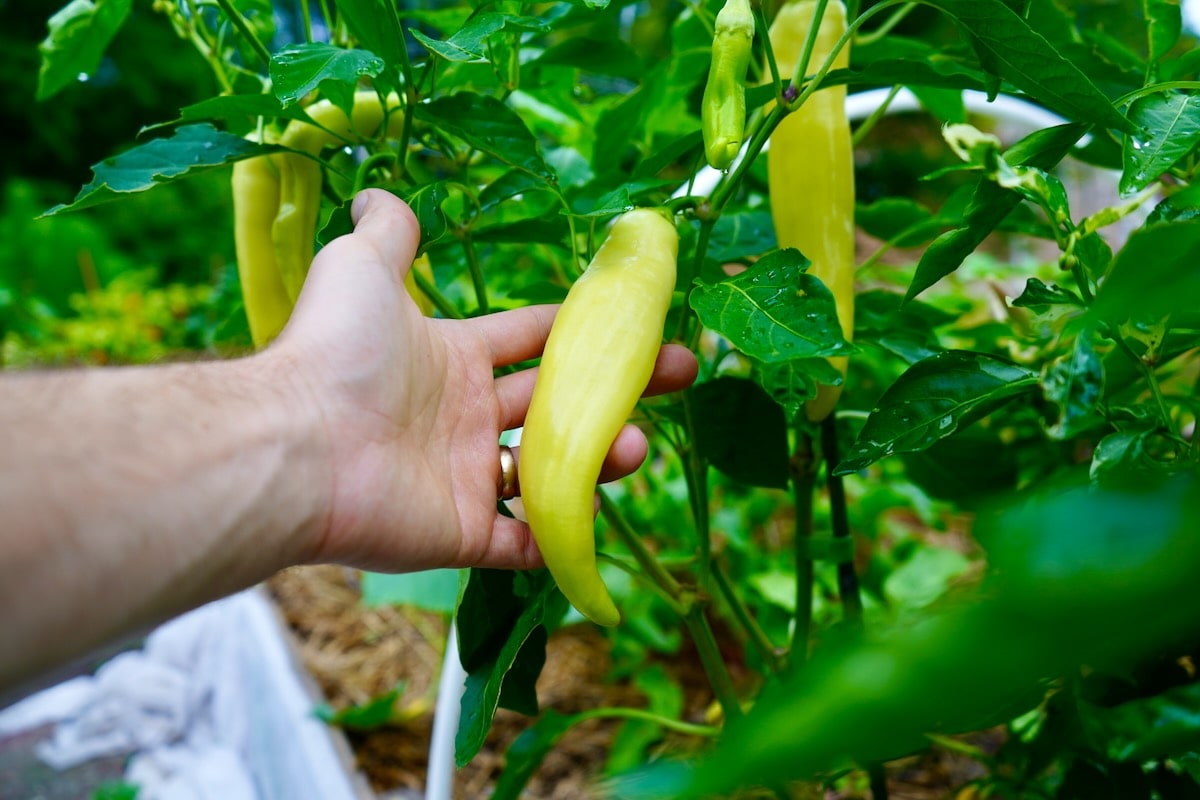
Green Cayenne Peppers
It is common to end the season with lots of green cayenne peppers still on the plant. Watch the weather and pick them before any frost. Depending on how developed they were, they might ripen off the plant.

Place the green peppers in a warm location indoors and give them a week or so to change color. If they don’t, they can still be used in cooking or sauce making, they just have a more vegetal flavor.
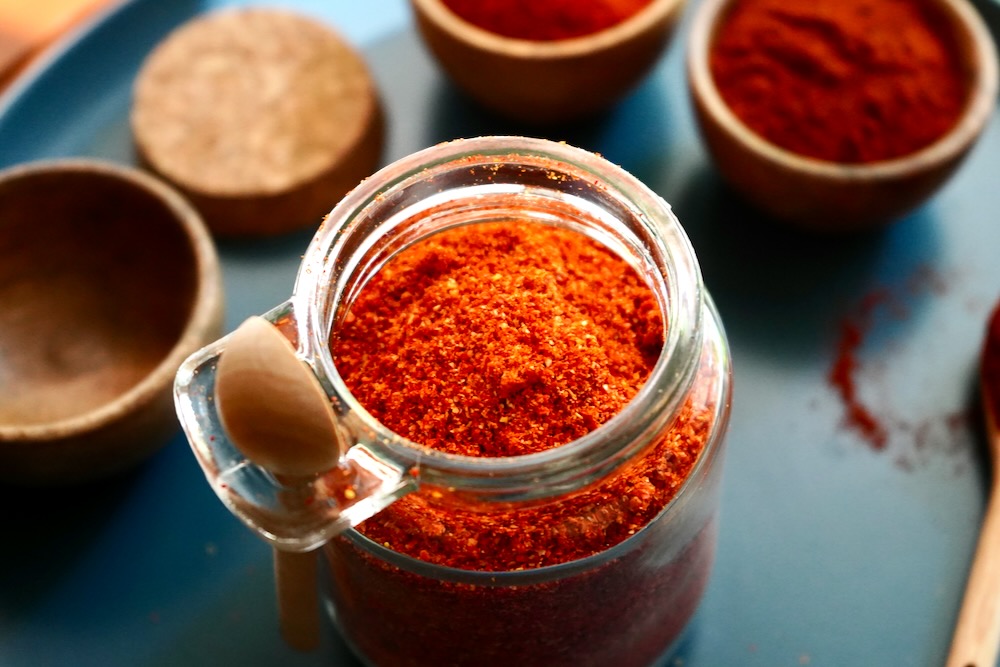
Cayenne Pepper Uses
So, you’ve has a successful season growing cayennes, and now comes the best part: eating them. If you need some ideas on how to use a cayenne harvest, try these:
- Hot sauce. If you like Louisiana-style hot sauce, you can make your very own delicious homemade version using cayenne peppers.
- Fermented mash. If you want to make hot sauce, you’ll need to make a fermented mash first. This is a simple process of preserving peppers that leads to complex and delicious flavor.
- Cayenne powder. Possibly my favorite use for cayennes is the most simple: dehydrated powder. This not only preserves the peppers indefinitely, but it is so useful in the kitchen.
- Stir fry. Fresh cayennes add great flavor and heat to any type of meal, but especially stir fried veggies and rice.
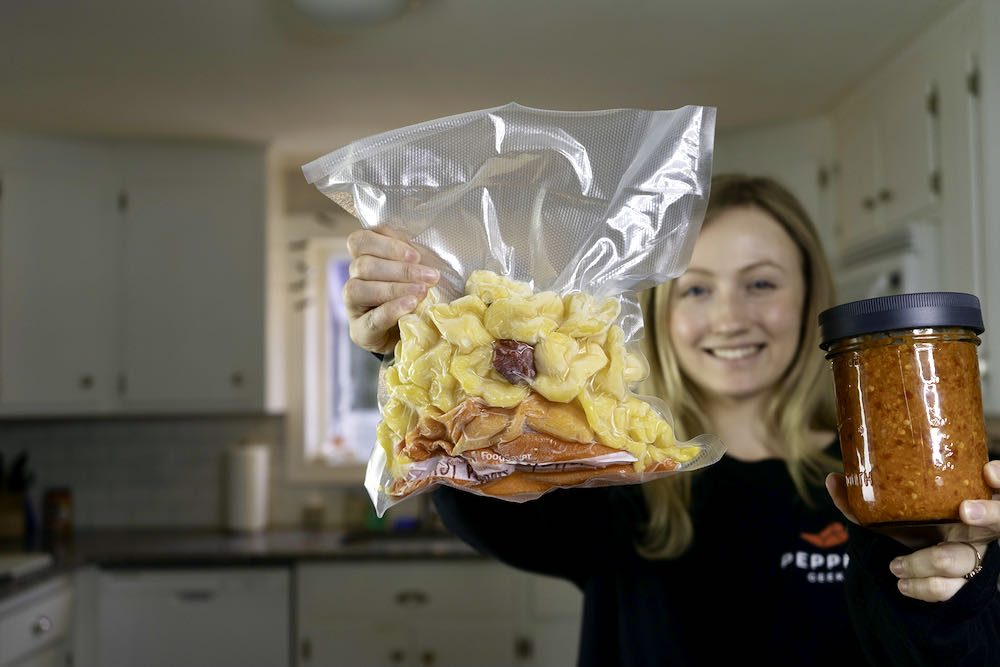
- Freeze for storage. If you’re out of ideas (or time), simply freeze your cayennes whole. They can be stored for months and used in cooking or hot sauces later on. Just be sure to use freezer bags or a vacuum sealer.
- See more things to do with cayenne peppers here
I hope this article has helped you grow your own cayenne peppers at home. Growing any type of pepper is fun, but cayennes are especially rewarding with their big yields. We will always have a few cayenne plants in our summer garden!

Calvin
One of the original Pepper Geeks! When Calvin isn’t gardening or learning more about peppers and botany, he might be traveling new places or playing some music.
I will never get store bought cayenne ever again. Freshly ground dried pepper powder is SO fragrant and yummy, not to mention healthy! Cayenne is definitely a staple in my garden. Thanks for the great pepper info!
I’m glad you tried it! It really is so much better.
At forecast for a killing frost that can’t be prevented by covering plants, I dig my chillis up, shake the loose dirt off, put the roots in a plastic bag, tied shut with a rubber band or string. I hang the plants in the house, upside down by the root bag. Most of the green fruit end up ripening. I heat with wood, so the house air is very dry during fall and winter. If I’m not picking all of the ripe ones off the plant, I will snip a bit of the bottom with small scissors. That promotes ripening, with very little rotting.
I really enjoy your article keep them coming VIRGIL
Wow, you convinced Bootstrap Farmer to offer a 3.3″ Pot! Thanks! (To tell the truth I also encouraged them). These seem like the perfect stepping stone between their 2.5″ and 5″ options.
They are a nice size for transplants or starting seeds – we’ll be trying to sow most of our peppers directly in the 3.3″ pots for 2024
I like to use cayenne peppers to make hot pepper jelly. I use the jelly on lots foods and sandwiches.
I’m overwintering pepper plants,following your video but the stems are turning brown is this okay also how moist should the soil be.
Thank you
They may turn slightly brown, but if they continue to discolor your plant may be dying. We keep the soil damn but not soaking wet. Usually needs very little water throughout the winter if they are kept in a cool location