
How To Save Pepper Seeds
Disclaimer: As an Amazon Associate, I earn from qualifying purchases. Pepper Geek takes part in various affiliate programs. This means that purchases through our links may result in a commission for us.
When the growing season comes to an end and peppers are ripening, you may wonder how to save pepper seeds for next year. Saving pepper seeds is simple, and can save you some money if you want to grow the same pepper varieties each year.
Our pepper seed saving method is easy, but there are some important tips you should know about. In this article, I’ll explain how we save pepper seeds for growing next year.
Watch Video:
In this article (skip ahead):
- Before saving seeds
- Choose Ripe Peppers
- Remove Pepper Seeds
- Dry Pepper Seeds
- Store Pepper Seeds
- Avoiding Seed Borne Disease
Before You Save Seeds…
In some cases, it is not a great idea to save seeds. For example, hybrid pepper varieties will not grow true to their original plant. If you save these seeds, the next generation may differ significantly from the original host plant (different colored peppers, more or less heat, disease resistance, etc.).
Also, if you are growing special varieties, saving the seeds can lead to unwanted cross breeds from cross pollination. In this case, it is best to isolate the flowers before they open to ensure the seeds are self-pollinated.
Do save: Heirloom or open-pollinated pepper varieties, non-hybrids.
Don’t save: Hybrid pepper varieties, store bought peppers, specialty pepper varieties that were not isolated.
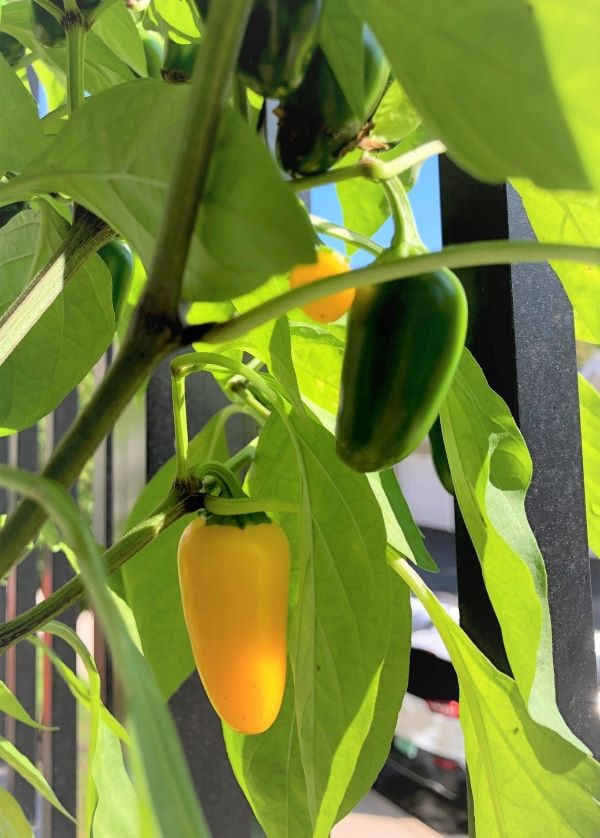
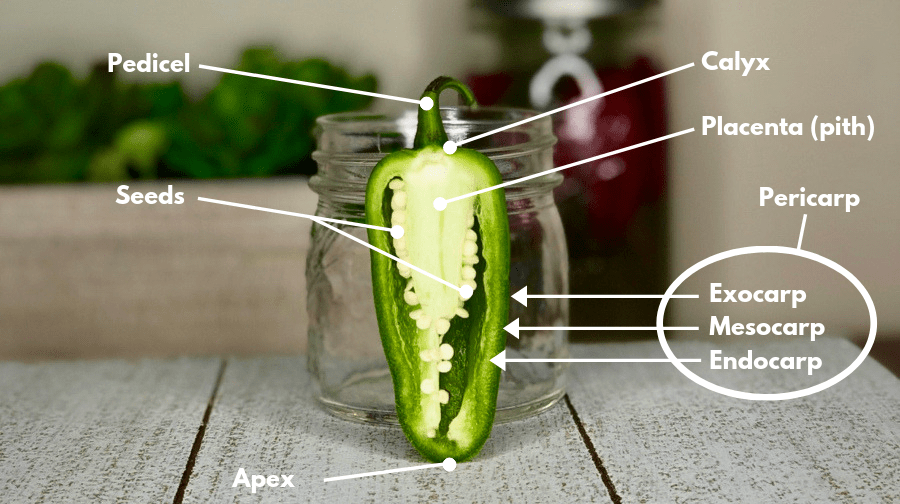
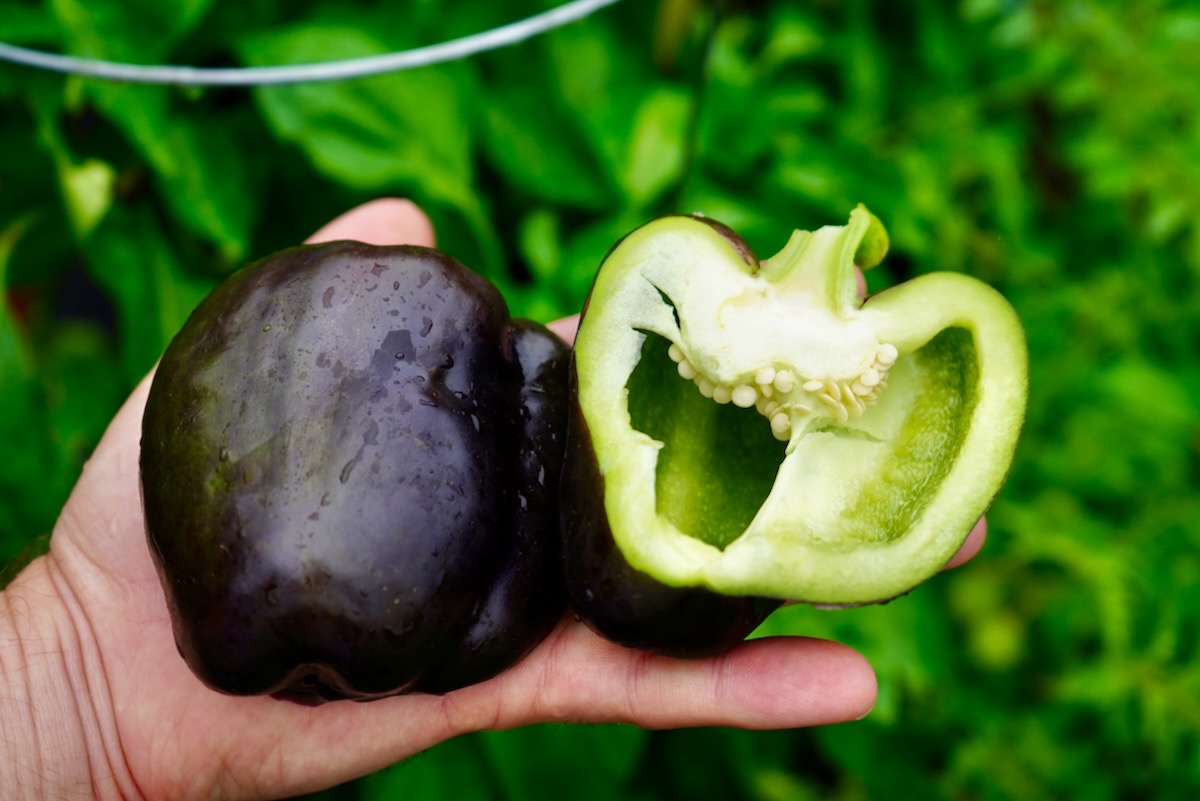
Choose Ripe Peppers
The first and most important step to saving pepper seeds is to choose fully ripened peppers. This ensures that the seeds inside are fully developed and mature.
Saving seeds from fully ripe peppers increases germination rates when you are planting them next season.
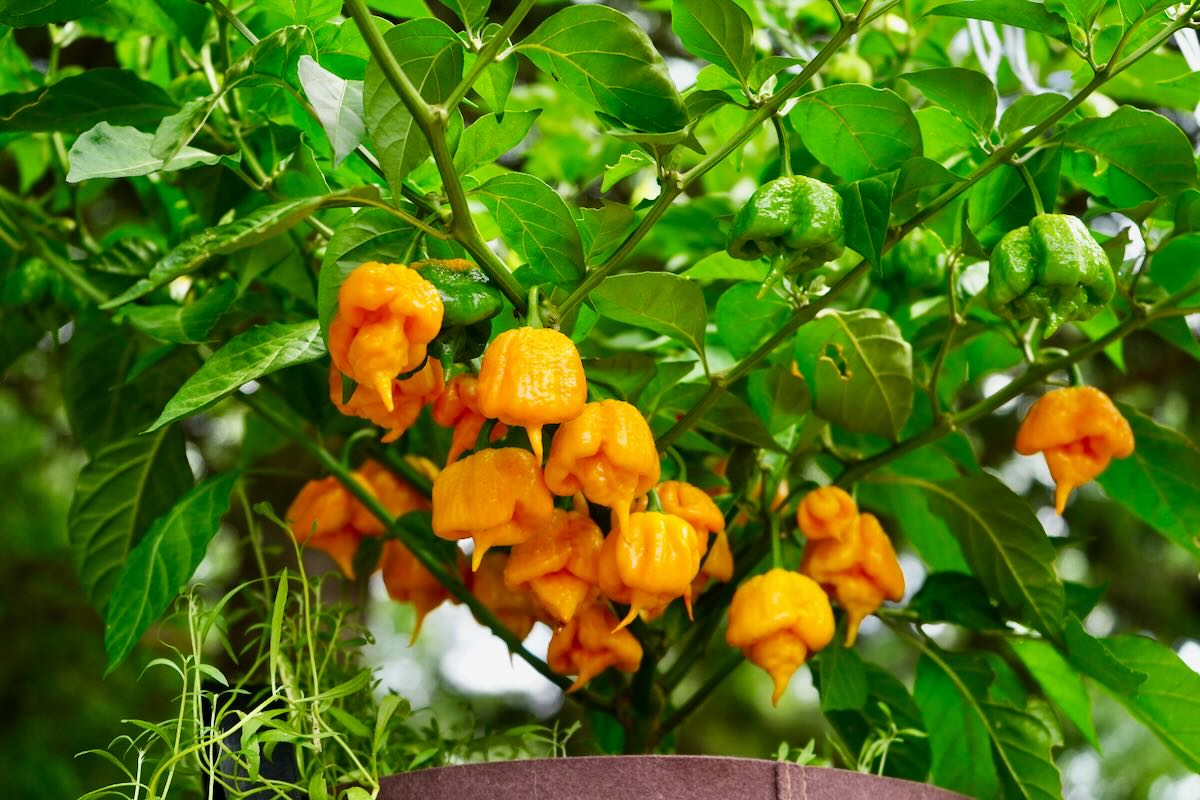
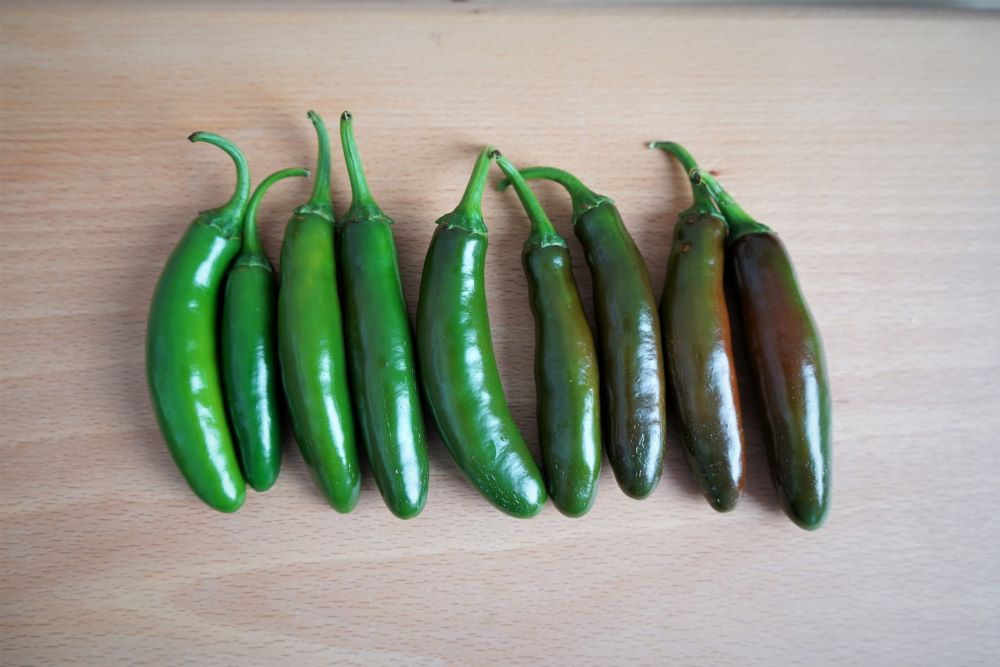
For example, if you are storing jalapeño seeds, choose a bright red pepper rather than a younger, green pepper. This is because red peppers are at their final stage of ripening.
How to know when peppers are fully ripe
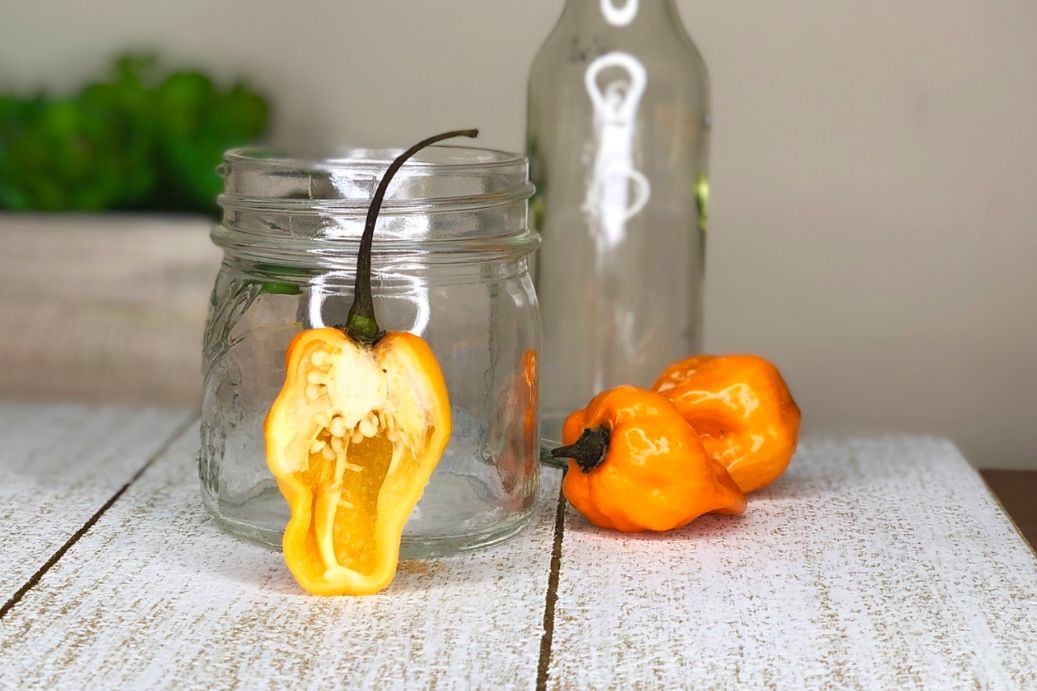
A fully ripened pepper will almost always change color. Jalapeños turn from green to red when fully ripe. Green bell peppers will eventually turn orange, yellow or red. Even banana peppers will eventually turn red.
Not all peppers turn red, for example, the lemon spice jalapeño pepper ripens to a bright yellow.
Another characteristic of fully ripened peppers is a slightly softer texture. Under-ripe peppers are typically very firm. After ripening, the pepper’s flesh will soften, and a firm *squeeze* will not cause the peppers to crack.
Under-ripe peppers will usually make an audible cracking sound when squeezed. This is especially the case for thicker-skinned peppers, like jalapeños, bell peppers, and banana peppers.
To put it simply, look for these signs that a pepper is fully ripe:
- Change in color
- Softer skin (when squeezed)
- Easier to pick
Learn more about harvesting peppers here.
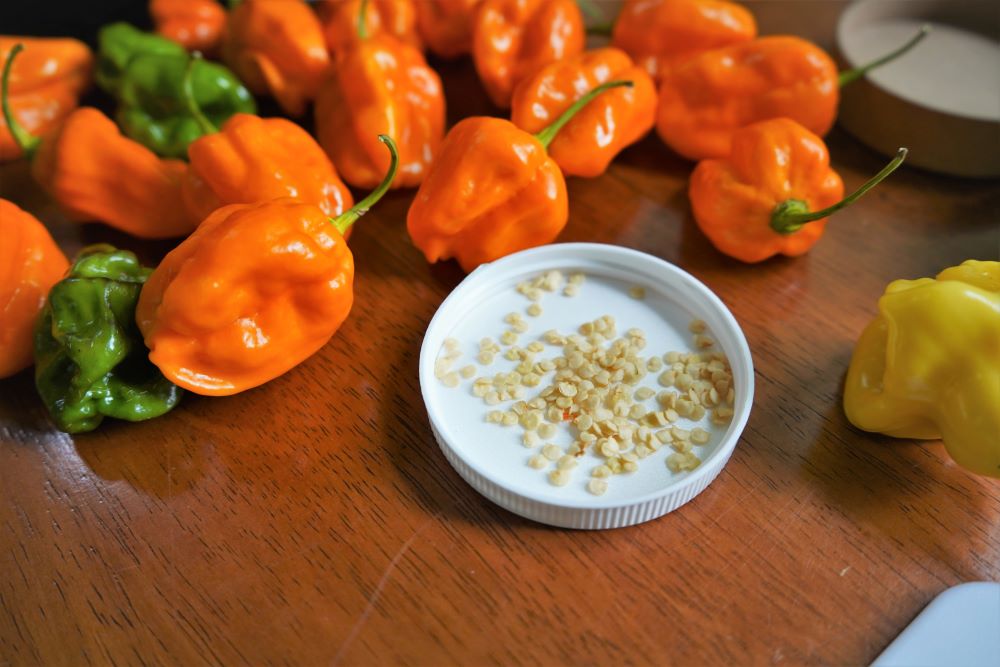
Remove The Seeds
The next step is to remove seeds from your peppers. Always wear nitrile gloves if you are dealing with hot peppers, even jalapeños! This will avoid a dreaded pepper skin burn.
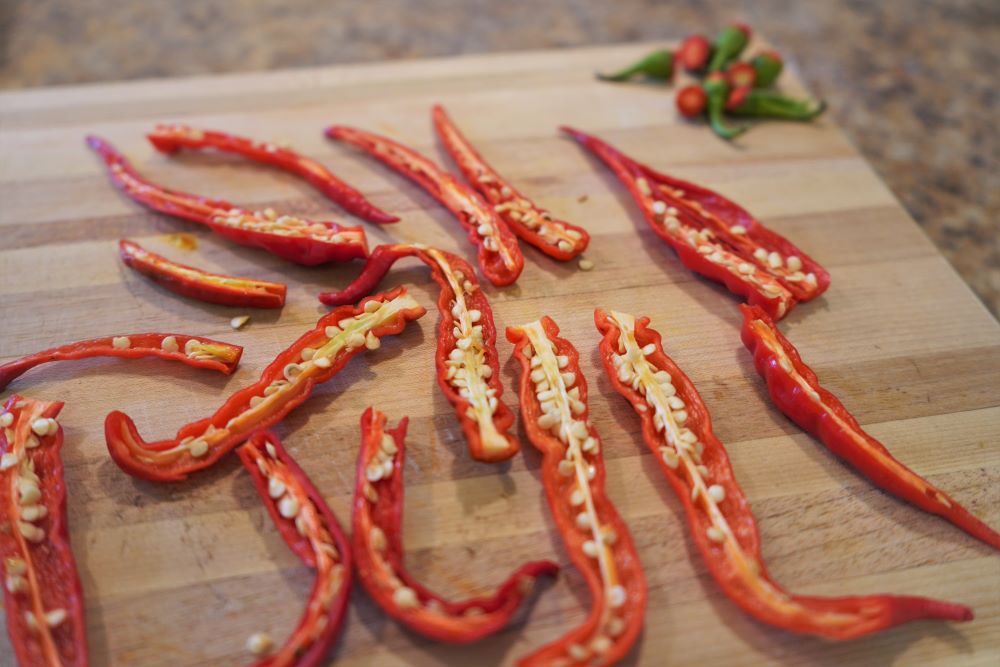
How you remove the seeds is up to you, but I prefer to keep it simple. Slice the peppers open lengthwise, and scrape out the seeds onto a ceramic or paper plate.
Tip: Don’t dry your seeds on a paper towel – the seeds will become stuck to the towel as they dry, making it difficult to remove them.
How to remove pepper seeds for storage
- Slice peppers lengthwise.
Slice the peppers in half lengthwise to reveal the seeds. Alternatively, you can try cutting the bottom off and rolling the peppers to release the seeds.
- Scrape out the seeds with a spoon.
We have a special serrated “spork” that works well for scraping out pepper seeds.
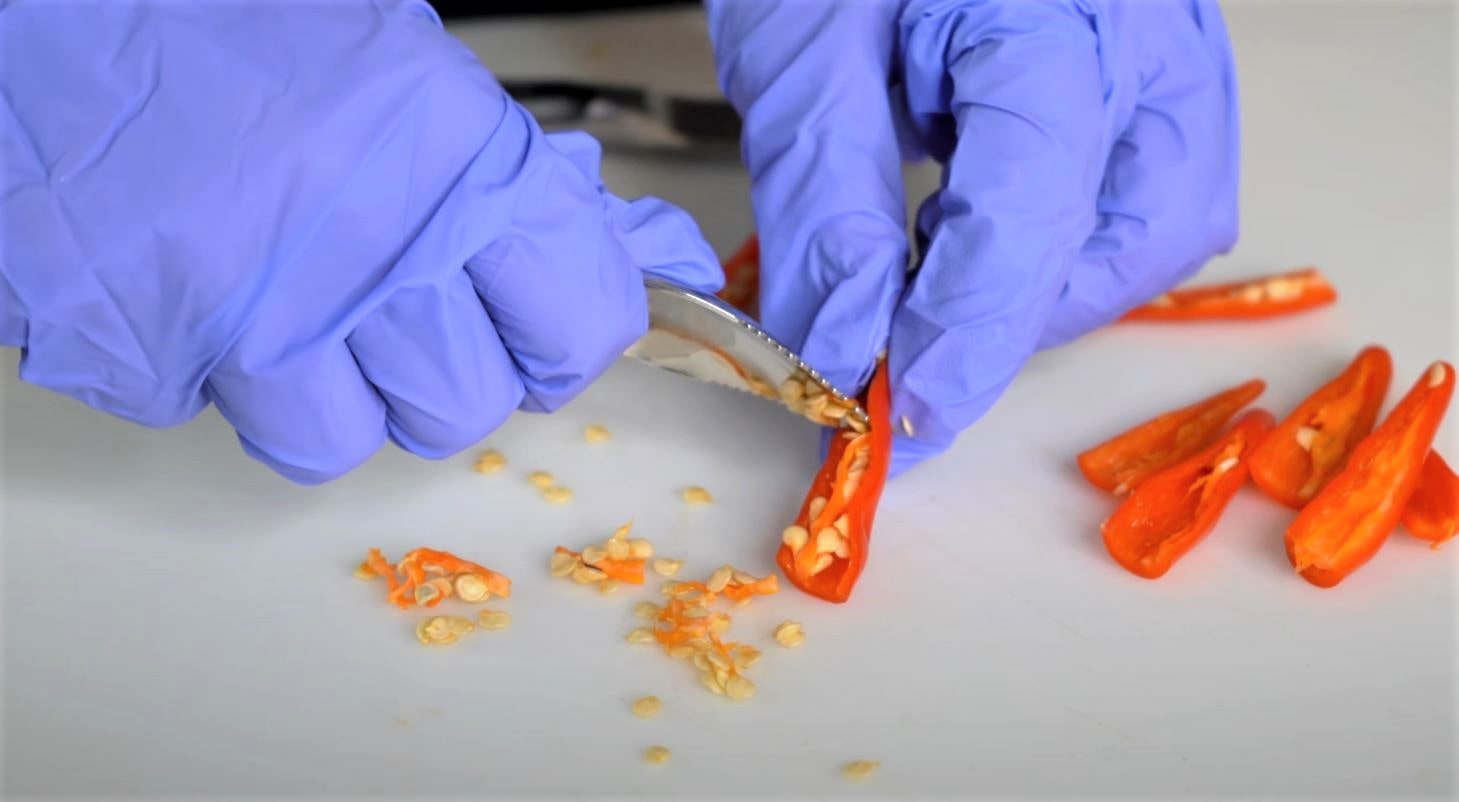
- Clean up the seeds.
Some pepper seeds will remain attached to the white pith inside the pepper. You can manually remove this to clean up the seeds, or leave it in place (it really doesn’t affect germination or storage if you leave it).
- Spread seeds and allow to dry.
Spread the seeds out evenly on a plate. Keep your seeds in a well-ventilated area for 5-7 days. You can also use a small fan for better airflow and faster drying.
Tip: Be organized! If you are saving seeds from multiple pepper varieties, be sure to dry them on separate, labeled containers to avoid mixing up seeds.
How To Dry Pepper Seeds
Allowing seeds to dry takes a while. Just keep them in a well-ventilated room. Airflow and humidity are key! Jostle the seeds around every day to make sure both sides of the seeds are getting dried out.
In a typical climate with around 40% humidity, seeds should be adequately dried within 1 week. If the humidity is higher where you live, you may need to wait a bit longer or provide some additional airflow with a fan. You can also use a dehydrator for quicker drying, but be sure that the temperature does not exceed 100°F or the seeds could be damaged.
Steps for drying:
- Spread pepper seeds out in an even layer on a plate
- If humidity is high, aim a small fan at the seeds
- Jostle the seeds daily, careful not to mix up different seed varieties
- Test for dryness after 7 days
How do I know when pepper seeds are dry?
If you store your pepper seeds before they are properly dried, you may end up with mold growth or bacteria. This is bad news and can ruin your seeds. To make sure you have a fully dried pepper seed, use this simple method:
- Break test: Test for dryness by breaking a seed in half, or cutting it with a knife. Properly dried pepper seeds should *crack* in half rather than squashing or bending. If they are not 100% firm, they are not yet dry enough to be stored.
Once they are properly dried, you are ready to store your pepper seeds for several months (or even years!) until it is time to plant them.
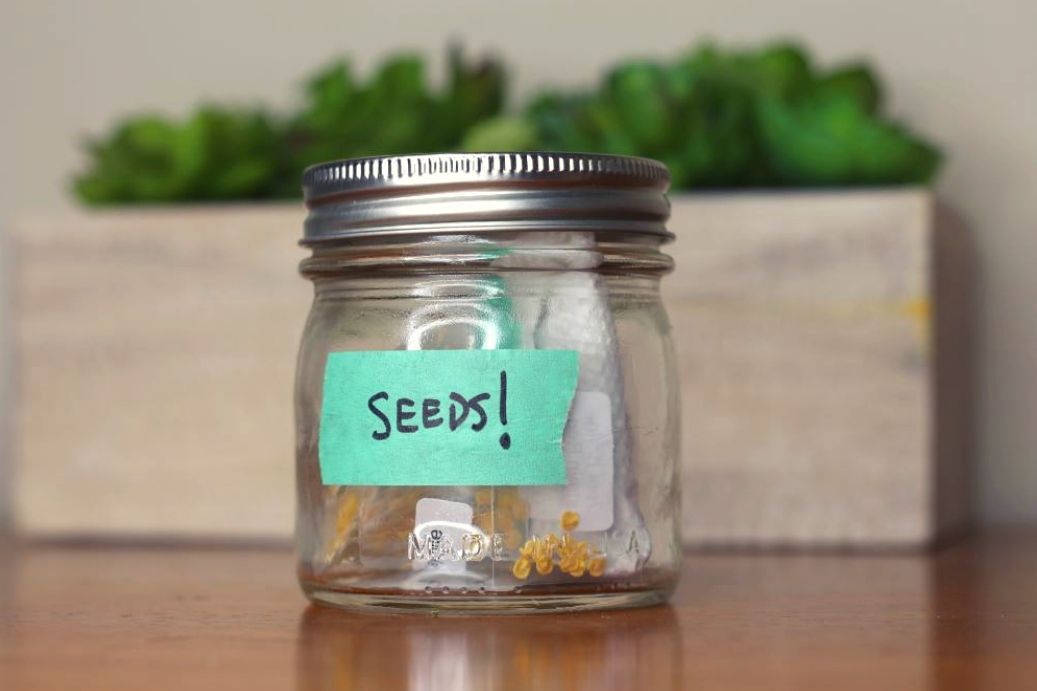
Save Seeds in a Sealed Container
When your pepper seeds are dried, they must be kept dry and cool. Label your seeds and store them in a sealed container. You can use plastic bags, paper envelopes, or even a ball jar. For the longest shelf life, keep your dried pepper seeds sealed in the refrigerator at around 40°F. However, a cool dark place such as a pantry will work as well.
If you plan to store your seeds for an extended period of time, keeping a food-grade desiccant packet inside can help keep the seeds fully dry.

Tip: Always label your seeds! Even if you are only storing one pepper variety, it is best to record the date and type of seed to make things easier later on.
After you have packed away your dried seeds, don’t forget to use the remaining fresh pepper flesh for drying, or one of the many other alternatives for preserving peppers! Don’t let your hard work go to waste.
Next year, use our pepper growing guide to use your saved pepper seeds!
How can I tell if old pepper seeds are still good?
Over years of gardening, you will accumulate many seeds. Pepper seeds can remain viable for many years if properly stored. You can run a simple test to determine which seeds are still viable for growing.
Germination test: Plant 10 seeds in a small cup of damp potting soil. Keep them in a warm location and well-watered. After 10-14 days, count how many seedlings have sprouted to get a rough idea of the germination rate (7/10 = 70% germination rate).
Avoiding Disease When Saving Pepper Seeds
One important thing to consider when saving pepper seeds is the possibility of viruses or bacteria. Some diseases are seed-borne, meaning they can be spread from a seed into the plant. Here are a few things to consider before saving pepper seeds.
- Never save seeds from a diseased plant. If you suspect that your plant was infected with a pepper plant disease, whether it be viral or bacterial, don’t save those seeds! Many viruses, including the prevalent mosaic virus, can be seed borne. This puts you at risk of spreading the virus to next year’s plants through this year’s seeds.
- Sterilize seeds if you suspect infection. Depending on where your pepper seeds came from, you may worry that they carry infection. There are many methods to sterilizing seeds, some more intense than others. While this is not usually necessary, if you are trying your hardest to avoid disease, this can help mitigate the risk. Note: Sterilization should be done at the time of planting, not during the pepper seed saving process.
I hope this article helped you learn how to save pepper seeds for planting next year. Almost nothing is more satisfying than growing a new plant from your very own pepper seeds. Good luck!

Calvin
One of the original Pepper Geeks! When Calvin isn’t gardening or learning more about peppers and botany, he might be traveling new places or playing some music.
Great tips on drying and saving seeds from freshly picked peppers. In my case, I grew some Padron peppers late in the season that never got picked. They matured and dried on the plant. They’re bright red and pretty dried out now (August in Arizona). I assume they dried correctly without my help. Do you think I can just test a few and bag them up for next year?
Yes for sure – the seed should be viable. It’s nice to let nature do the job sometimes!