
Hydroponics In A Ball Jar – How To Make It
Disclaimer: As an Amazon Associate, I earn from qualifying purchases. Pepper Geek takes part in various affiliate programs. This means that purchases through our links may result in a commission for us.
Growing plants with hydroponics is easier than you may think. Yes, it requires specialized water-soluble nutrients, but with just a few supplies you can get started with a simple system, quick.
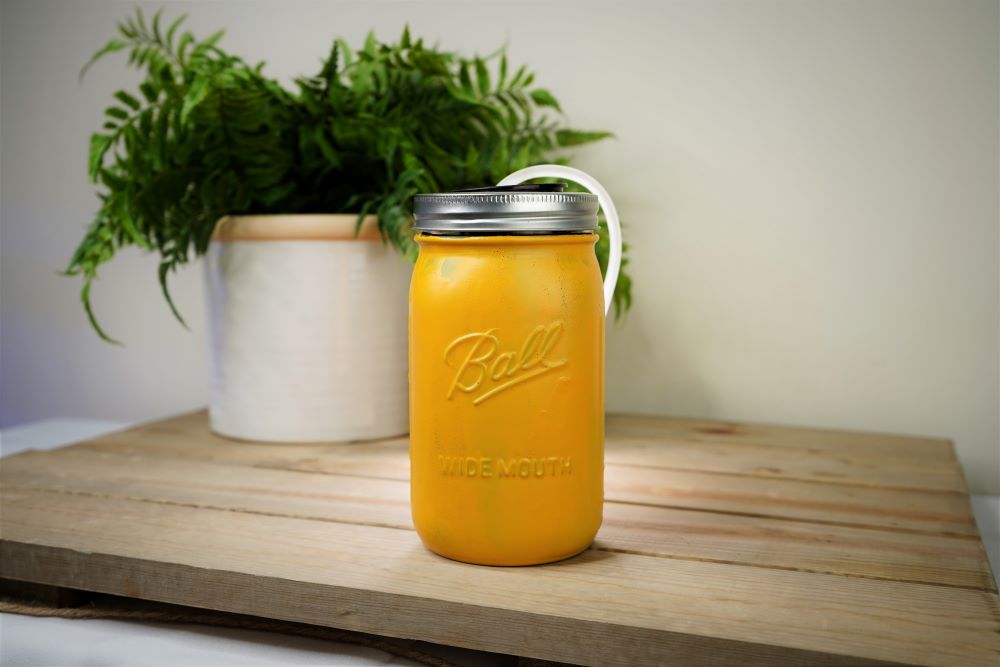
In this article, we’ll show you how to make a DIY glass Ball jar hydroponics setup! It is easy, fun and looks pretty cool when it’s done.
Video Setup:
Supplies:
To make your own hydroponics Ball jar, you’ll need a few basic supplies. Here are the very basics needed to make your own system.
- Ball Jar, Lid and Seal. You can get mason jars online at Amazon, or get them cheaper at your local hardware store. They are also available at major department stores. We are using 1 quart sized jars, but you can go smaller or larger depending on how large of a grow space you have.
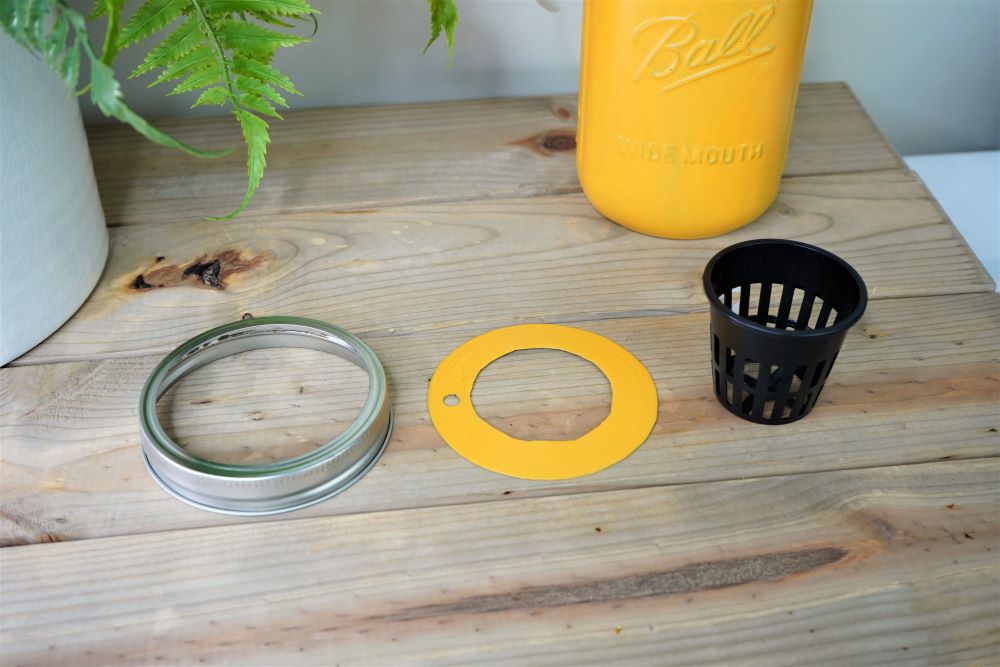
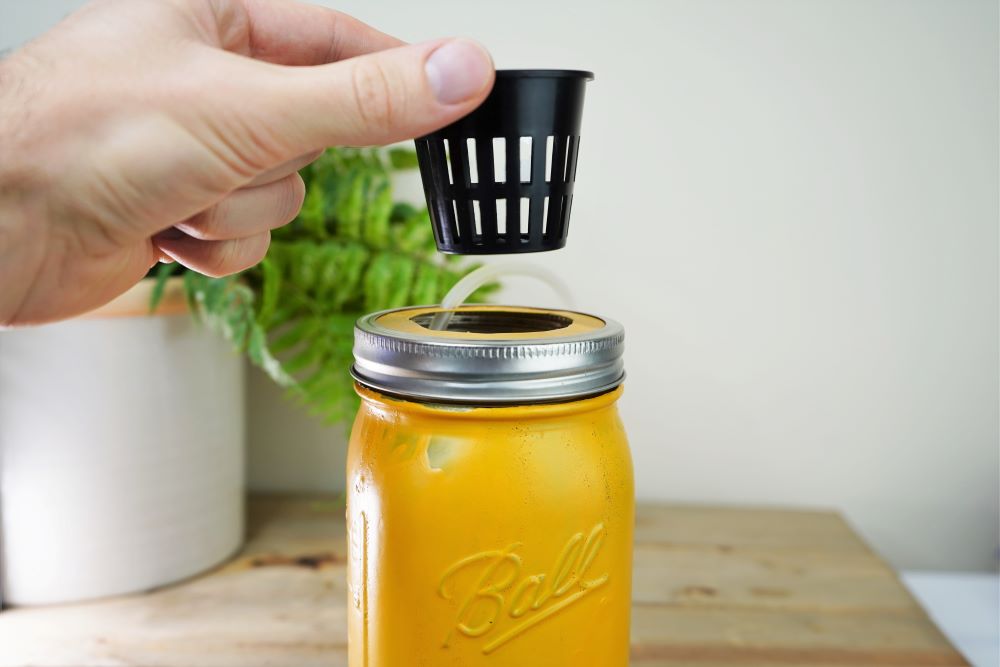
- Net Pots. Net pots are used to suspend your plants above the water in the container. They are available for cheap online, or you can sometimes find them at nurseries. There are 2″ net pots and 3″ net pots. The 3″ pots will fit perfectly inside of a wide mouth ball jar, but they are bigger than needed for most plants. We are using 2″, but 3″ will certainly make the job easier!
- Spare Plastic (optional). If you are using 2″ net pots, you’ll need some spare thin plastic to create a ring. This is where the net pot will hang and will close securely beneath the jar lid rings. This can come from an empty food container or similar.
Tip: If you have one, use a black Tupperware container – this will block out light and won’t need to be painted. - Paint or Opaque Paper. We must cover the Ball jar to avoid algae growth in the water reservoir. Black spray paint is ideal for blocking the most light. We used a layer of black, followed by a layer of golden yellow for aesthetics. We used this spray paint.
- Rock Wool & Hydroton. These are only needed when you are ready to start growing plants in your Ball jar. Rock wool is a favorite medium used for sprouting seeds. Although it is natural, be careful when handling rock wool as it can be a skin and lung irritant. Hydroton is simply dehydrated clay stones. Be sure to wash and dry them thoroughly before using.
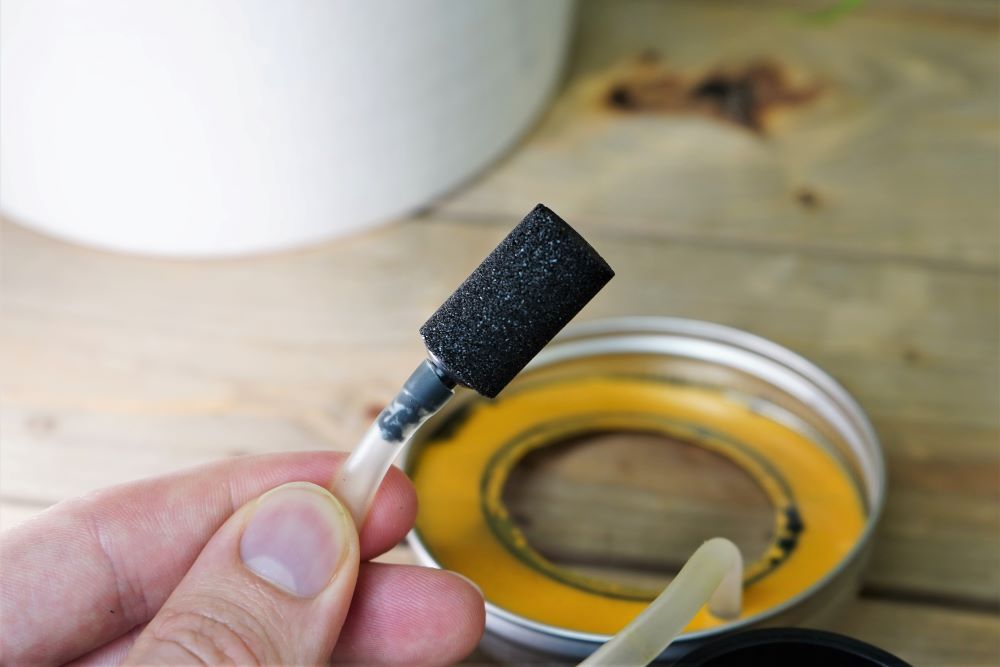
- Pump, Hose & Air Stone (optional). Since we primarily grow peppers, we chose to set up a water culture method, which involves pumping air bubbles at the bottom of the water. The bubbles pop at the water’s surface, creating a humid environment for the root systems to stay moist and collect oxygen. The alternate method is called Kratky, which we will cover later.
How To Make a Hydroponics Ball Jar
With all the required supplies on hand, you are ready to assemble your hydroponics Ball jar! If you are painting the jar, the process may take a day or two to allow it to fully dry. Otherwise, you should be able to get your jar set up within an hour or so.
Steps:
- Paint the jar.
If you are painting your jar, start by taping the rim where the lid screws on. This part doesn’t need to be painted. Bring the jars outdoors and place them on cardboard or paper bags, upside down. Apply as many coats as desired and allow to dry thoroughly.
If you are not planning to paint the jar, you’ll need to cover the jars with something opaque, such as brown paper. Get creative! As long as light cannot penetrate into the jars, you are good. Some people use rubber bands or tape to keep the covering in place. - Cut the plastic ring.
If you are using 3″ net pots, they should fit perfectly into wide mouth Ball jars. If you have 2″ net pots, trace 2 circles onto your flat piece of plastic. For the larger circle, use the Ball jar lid seal. Then, use the rim of the net pot to trace a second circle inside of it, right in the center.
Cut out the center circle first, erring on the side of too small rather than too large. If the circle is too big, the net pot will simply fall through. Test the net pot to ensure it fits well, then cut the outer circle out. When finished, the ring should fit snugly beneath your Ball jar lid rings atop the jars.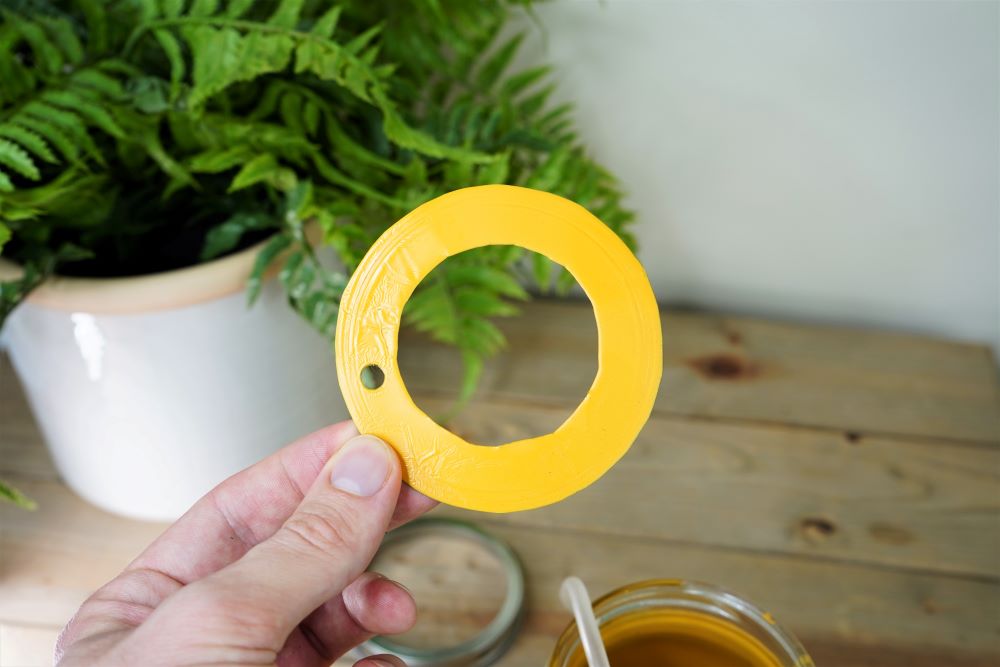
- Punch a hole in the ring.
If you are using an air pump, you’ll need a place for the tubing to run into the jars. Most standard tubing is 1/4 inch, meaning a standard hole punch will do the trick. Punch a hole in the plastic ring, ensuring it is accessible while the lids are screwed in place.
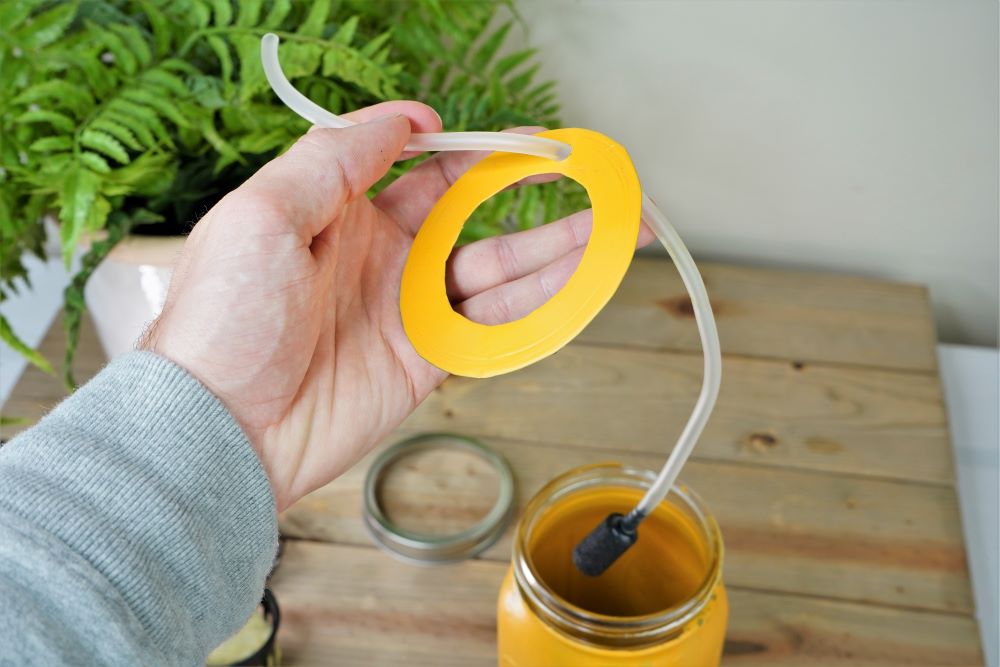
- Set up the pump and air stone.
If you are using the deep water culture (DWC) method, cut the tubing to length, ensuring the back valve is in place between the pump and your jar. Connect the air stone and place it at the bottom of the jar, feeding the tubing through the punched hole.
- Assemble the jars.
Once the paint is dried and your net pots are secured in place, your hydroponics Ball jar is complete! All that is left is to set germinate seeds and provide nutrient-rich water under some grow lights.
DWC vs Kratky Method
If you are on the fence about which hydroponic method to use, consider the benefits and drawbacks of each. Here are the basics.
DWC Method (Deep Water Culture)
The water culture method involves pumping air into your nutrient solution via an air stone. The air stone is a porous piece of rock that creates tiny bubbles when air passes through it.
The air bubbles serve two purposes. One is to provide the roots with oxygen. The other is to keep the roots moist while they grow. Roots that are not submerged in water can dry out without the constantly popping bubbles from the air pump.
Your pump will probably run 24/7 if you are using DWC, and generally involves more setup. However, it has been shown to grow more robust plants, especially fruiting plant varieties, such as peppers and tomatoes.
If you are just growing leafy greens or herbs, Kratky should be just fine.
Benefits:
- Faster plant growth
- Healthier root systems
Drawbacks:
- More setup and supplies needed
- More maintenance
- May lead to more algae growth
Kratky Method
The Kratky method of hydroponics is a much simpler setup. The idea is to leave enough room between your plant’s roots and the water line for the roots to gather necessary oxygen. As the plants grow, the water level drops and the roots have more room to breathe.
If you plan to grow lettuce, spinach, basil or anything else that is purely leafy, Kratky should work well. If you intend to grow peppers or tomatoes, DWC is recommended.
Benefits:
- Easy setup
- No electricity for air pump
Drawbacks:
- Slower plant growth (usually)
Either method is proven to grow healthy plants, but choose your method carefully based on what you intend to grow hydroponically.
Other Things To Consider
This article is focused on creating a setup to grow plants in. For more info on actually getting started with planting, use these resources.
Lighting – Learn more about choosing a grow light here.
Nutrients – We use General Hydroponics granular nutrients and follow the directions for feeding.
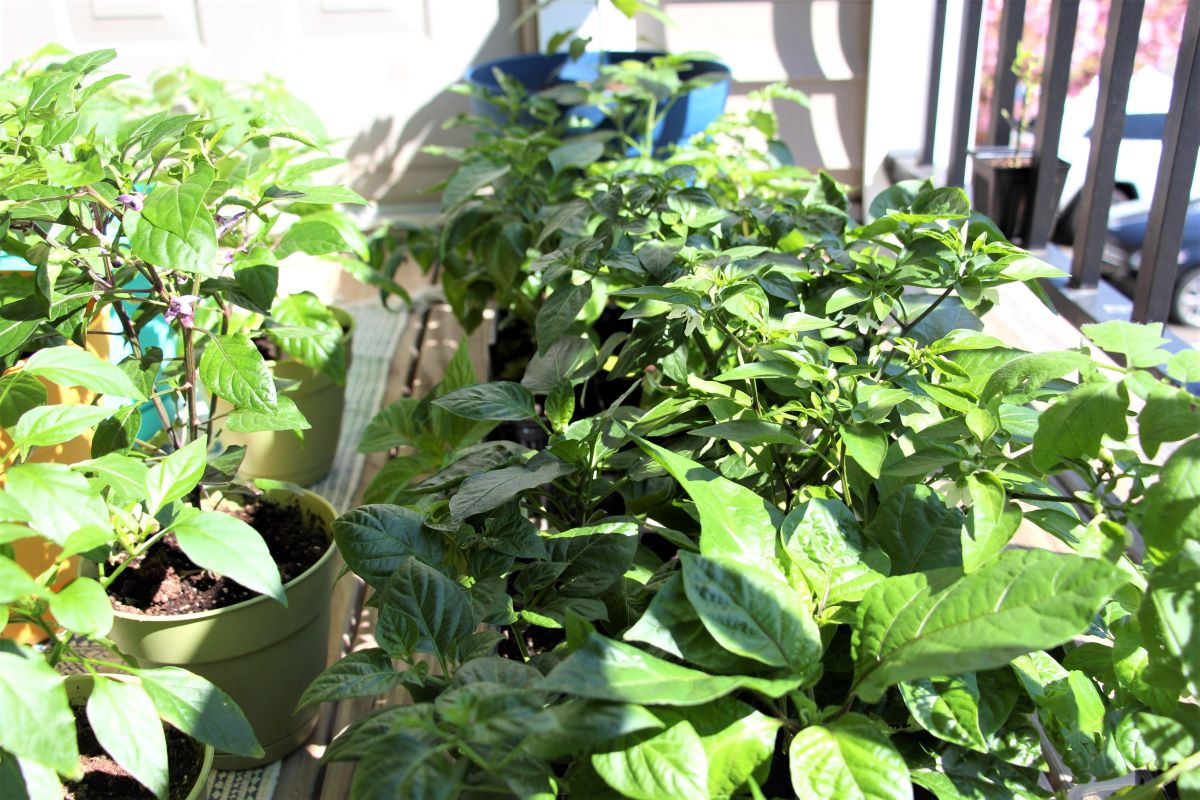
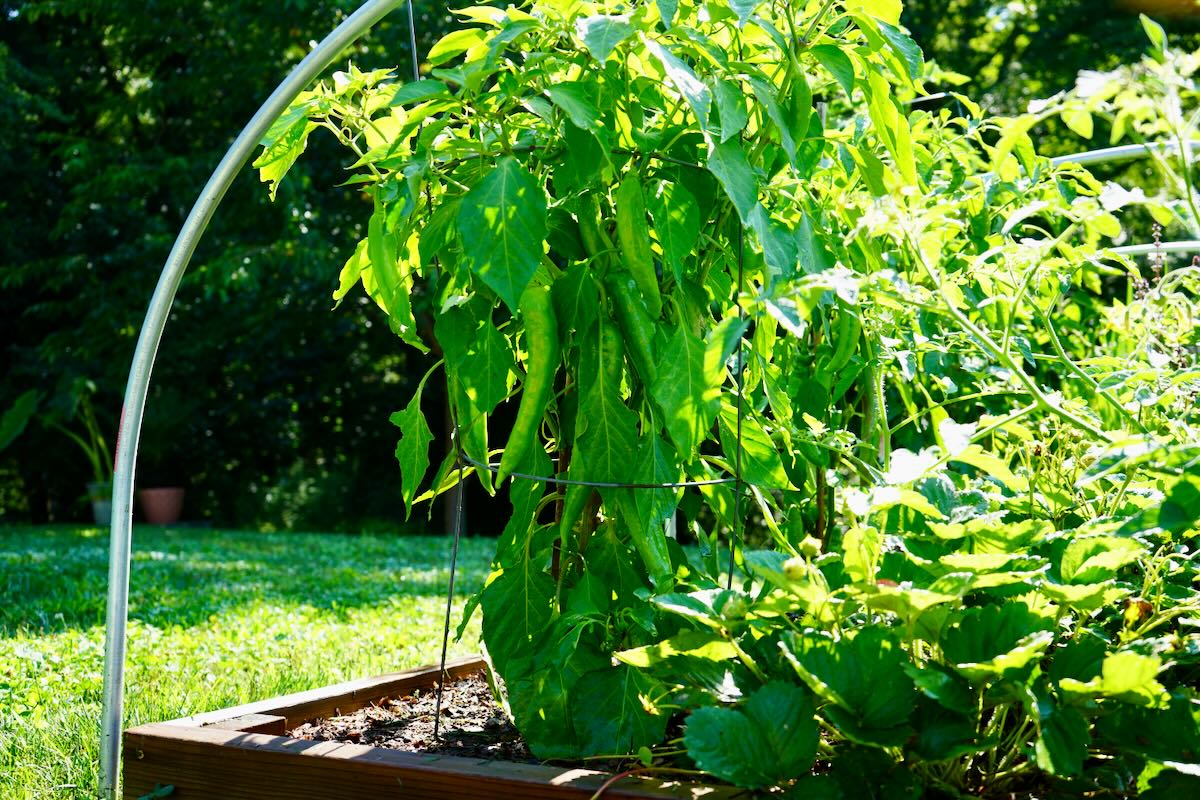
Growing Peppers – We specialize in growing peppers. If you want to try your hand at growing some peppers, see our grow guide here.
I hope you enjoy this project as much as I did. Follow our YouTube channel to see our hands-on videos, especially if you love peppers!

Calvin
One of the original Pepper Geeks! When Calvin isn’t gardening or learning more about peppers and botany, he might be traveling new places or playing some music.


What’s the maximum number of jars one air pump can support?
Great article – I have been having a ton of success with this method. I didn’t paint my jars, I kept them clear. Algae only gets bad with warm weather. You can buy blackout bags for cheap on amazon instead of painting.
Would you mind sharing the air pump used? The Amazon link seems to be broken :/
Ah sorry about that – it happens. Here is a similar pump that should work
“You can get mason jars online at Amazon for much cheaper at most local hardware stores” ?
I hate to differ with you, but I do NOT agree.
A case of quart size Wide Mouth Ball Jars on Amazon is $40. (Kerr jars are $25)
The price (at any store here in the Portland OR. area) is $15. ‘Ball’ brand.
I also wouldn’t bother painting the jars. Wrapping them in newspaper and securing it with tape is cheaper, faster, and you have a perfect jar when you are done using it for this application.
Thanks for the post!
Some good information here. 🙂
“…at Amazon or for much cheaper…” – Maybe I should re-word this so it is more clear. Yes, they are cheaper when bought locally for sure. The shipping makes them expensive to buy online. Anyway, glad you enjoyed the post!
Can you give the details of where you got the yellow plastic for the lid? I’m not sure what thickness I need. Trying to order it from Amazon.
Hm, we just used leftover plastic from a food container and cut it to size.
If you don’t have net cups available, I take a k-cup from my coffee maker, dump the spent grounds into the compost pile, drill some holes in the cup and you have some recycled pots.
Glad I just found your site and videos. I’m new to growing peppers.
Hello from just north of you in central MA.
Cheers! Cool idea for net cups – glad to have a local MA viewer/pepper grower – Crystalyn is originally from MA as well