
DIY Plant Marker Ideas For Herbs & Veggies
Disclaimer: As an Amazon Associate, I earn from qualifying purchases. Pepper Geek takes part in various affiliate programs. This means that purchases through our links may result in a commission for us.
When you first start gardening, it is easy to overlook the importance of organization. Knowing which plant is where can save a lot of headaches over the course of the growing season.
That’s where plant labels come in handy. Yes, you can buy pre-made plant labels, but most of them are cheap and wasteful. In this article, I’ll share a few simple DIY plant marker ideas for you to make at home (for cheap!).
1. Paint Stir Sticks
Paint stirring sticks are made of lightweight wood and are very cheap. You can find them online for cheap, or at home improvement stores in the paint department. They also make a great template for DIY plant markers.
When painted with acrylic paint, these simple pieces of wood are transformed into weather-resistant garden labels. They also bring great color and charm to any garden.

Supplies:
- Paint stirring sticks
- Acrylic paint
- Paint brush
- Paint pen
Steps:
- Paint each stick from the base to the tip and allow it to dry. Apply a second coat of paint after the first has dried if necessary.
- Using either metallic sharpies or a paint pen, write each plant label vertically.
Tip: Work on top of old newspaper or cardboard to avoid paint spills. You can also use parchment paper to avoid the paint from sticking.
Paint stirring sticks make for a great plant marker thanks to their large surface area. They will also be highly legible in the garden without the need to squint or get too close. You can also color-code your garden for attractive, vibrant aesthetics.
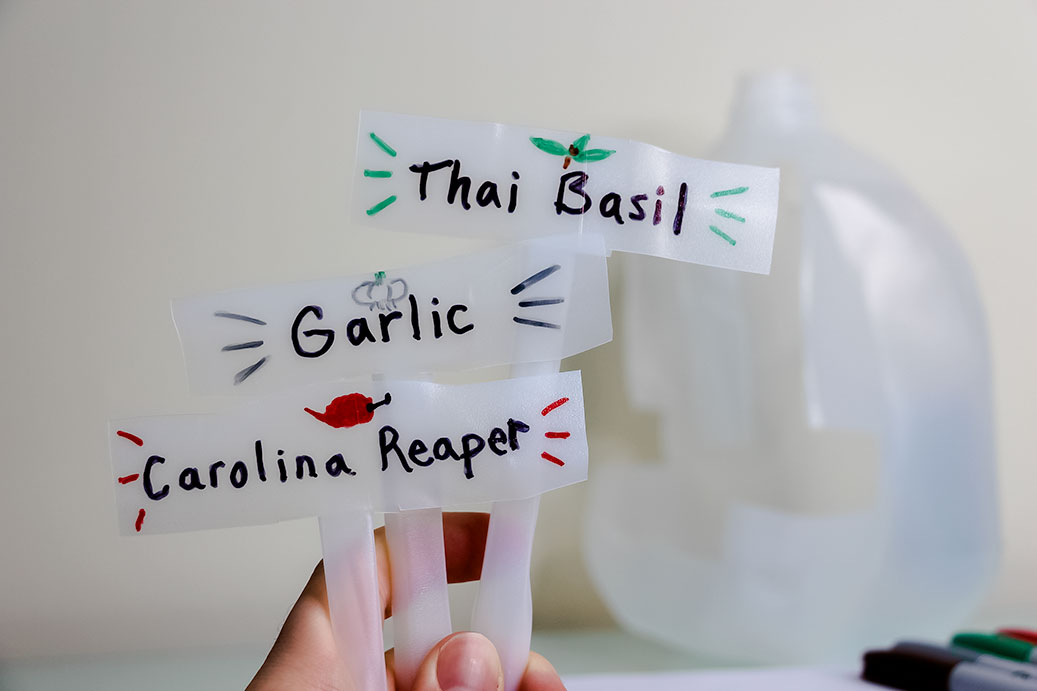
2. Repurposed Milk Jug
Winter is cold and dry in New England, so we end up buying at least a few jugs of distilled water for our humidifier. This leads to unwanted plastic, destined for the recycle bin. So we thought of a great way to re-purpose the leftover gallon jugs. We turned them into plant labels for the garden!

Supplies:
- Empty milk jug
- Razor knife
- Plant marker pen (sharpie will fade quickly)
Steps:
- Clean out milk jug with water.
- Using a razor, carefully slice the jug from the spout, into large ‘T’ shapes. Make sure the stem of the ‘T’ is roughly 1-1.5″ thick.
- Slice the plant markers in an alternating fashion to use as much of the plastic bottle as possible.
- Using a plant marker pen (which has UV resistant ink), write on the front and back to protect labels from the elements.
Tip: Make your labels more sturdy by folding the stem portion over into a cylinder and securing it with tape. This will help keep the plant markers upright through wind and rain.

3. Rocks
Yeah, that’s right, rocks. You know where to find them. Everywhere.
All they need is a little cleanup and some weather-resistant paint to become your new plant markers. This is a great way to save time and money. You can even buy your own smooth rocks online if you couldn’t be bothered to go rock hunting outside. These are super charming and can be decorated however you please.

Steps:
- Find rocks.
- Clean rocks (with soap and hot water).
- Paint rocks (with acrylic paint or paint pen).
Rocks are ultimately the most affordable way to mark your different plants in the garden. The result is a much more natural looking garden. The only potential drawback is that they will likely get dirty when it rains, obscuring the writing.
Tip: Add a layer of mulch, such as dried leaves or straw, to avoid soil-splashing onto your plant markers. It will also suppress weeds!
4. Tiny Plant Flags
Though these are not the most reusable, wooden skewers with black tape make for a simple, flag-shaped herb label. They can be stuck into potted plants at an angle, and make for a nice indoor garden label.
The tape can also be cut in a variety of shapes and sizes to suit your preference. We used skewers that we got for cheap on Amazon.

Steps:
- Get some skewers and black duct tape (either gorilla tape or gaffer tape work fine)
- Use 4-6 inch pieces of tape, folding them over the top of each wood stick.
- Cut the tape into the desired shape using scissors.
- Write on the tape with a silver metallic sharpie or a paint pen.
Wood and bamboo tend to deteriorate when placed in the ground, so these will only last for a single season. However, they are a great container gardening option for their versatile size and shape. They also look pretty neat in the garden.
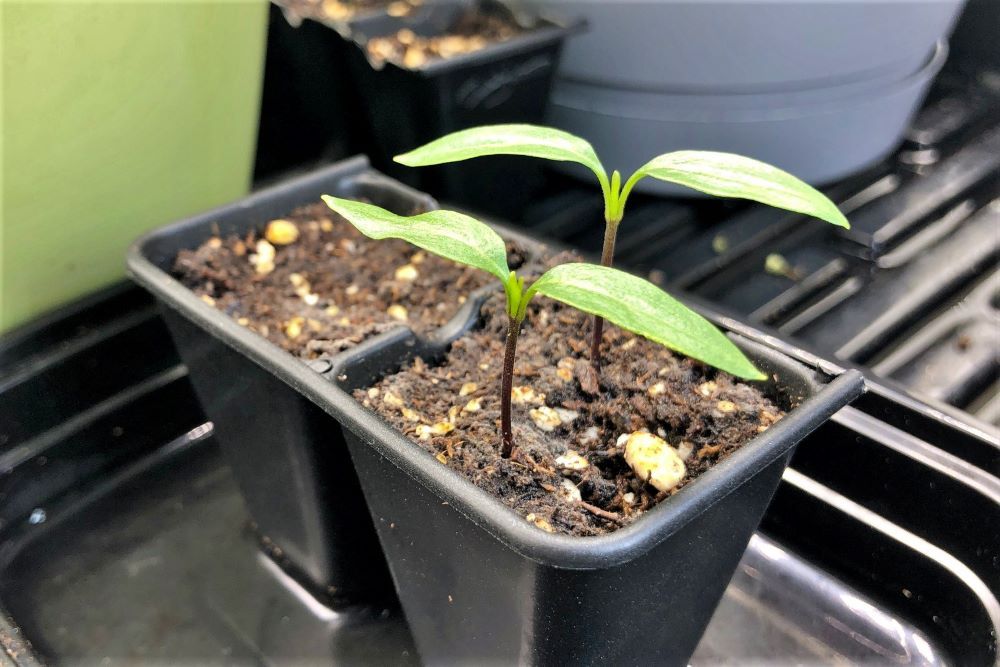
The best time of year to make your homemade plant labels is during the winter. While growing a few plants indoors can help keep the green thumb alive, planning for the season ahead is just as fun.
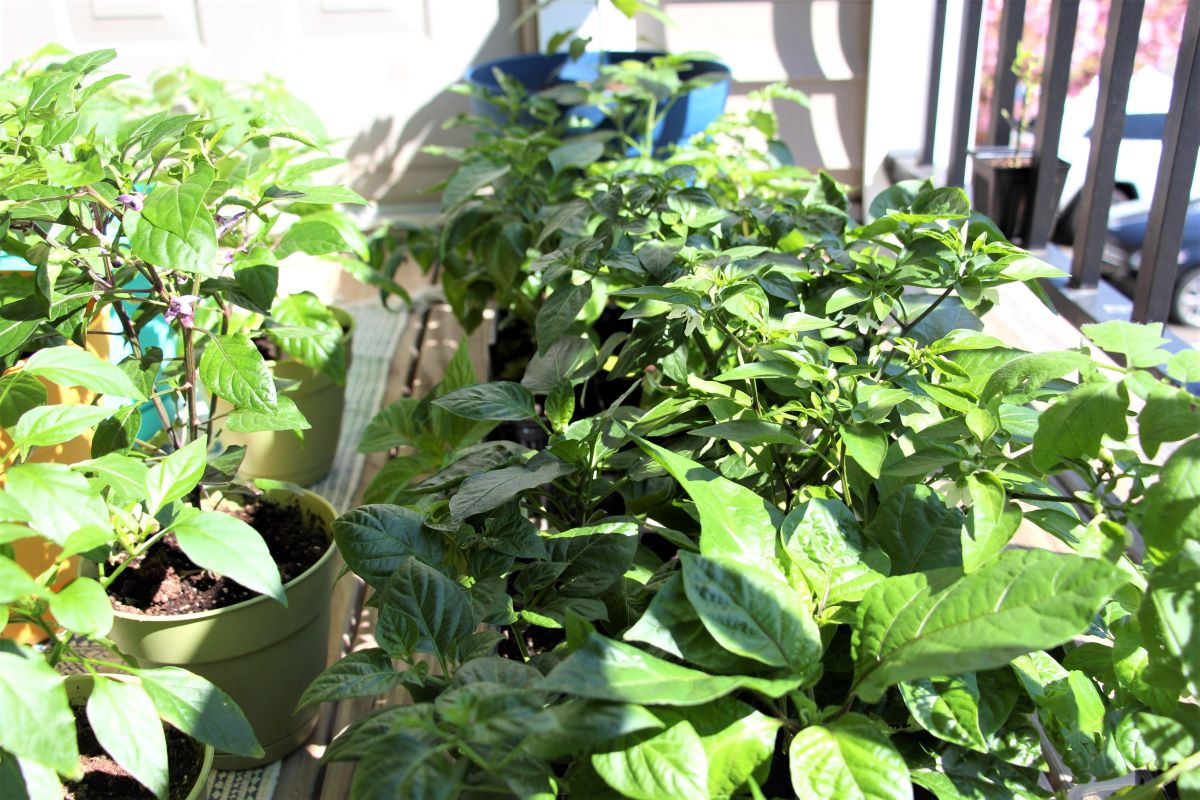
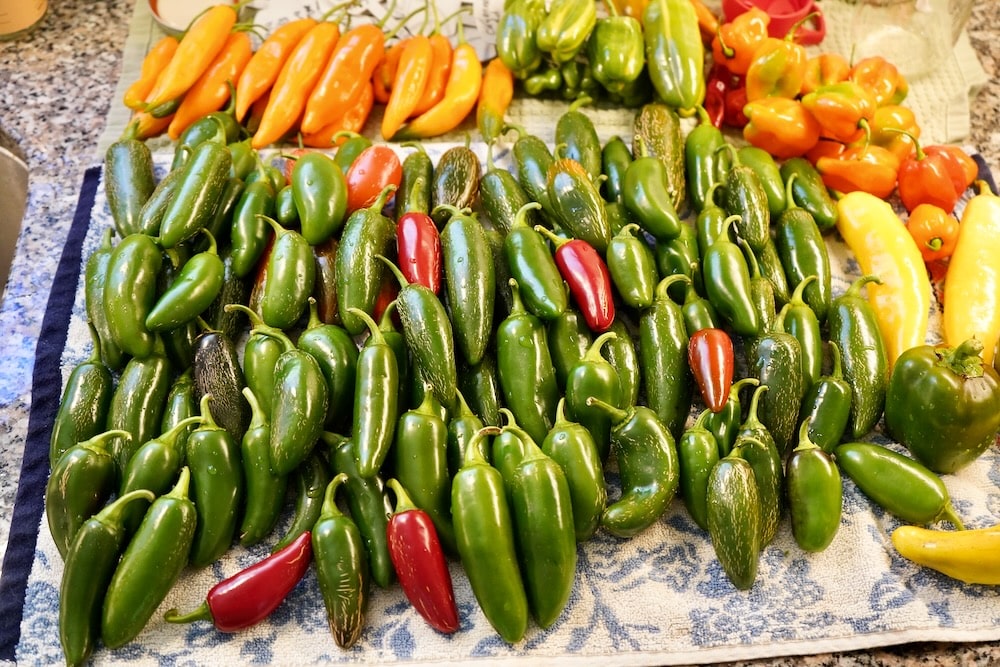
These homemade plant markers have helped us keep track of over 50 pepper plants in a single season, and can help you keep your garden neat and tidy!
I hope these simple plant marker ideas inspired you to create your own labels this season! Have more ideas for DIY plant markers? Share them with us on Pinterest.

Calvin
One of the original Pepper Geeks! When Calvin isn’t gardening or learning more about peppers and botany, he might be traveling new places or playing some music.

I get it this is 5 year old post but the plastic jug idea 1 plastic in the garden is bad but what got me was taping the edge to make more sturdy. Tape outside doesn’t hold up nor does hot glue. Punch holes at the top and bottom or at a corner wire it to a skewer. The jug won’t hold up in the sun becomes brittle