
We are incredibly excited to have collaborated with Bootstrap Farmer to create a pepper growing kit! This custom kit includes all the essentials for growing peppers, from seed to transplant.
The Pepper Geek Starter Kit comes with custom colored trays, pots, and seed varieties chosen by Calvin and Crystalyn! To top it off, Pepper Geek will be hosting a 2024 grow-along on social media for the launch, showcasing the kit’s potential.
About The Kit
Aside from soil, our starter kit has everything you need to start growing peppers. Here’s a look at what is included in each kit:
What’s in the kit:
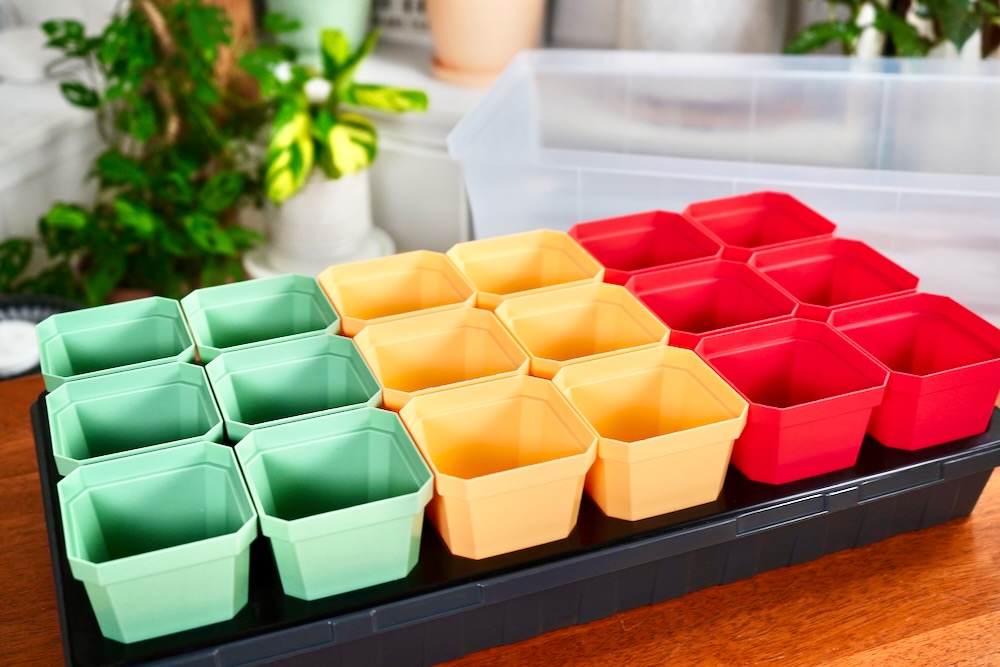
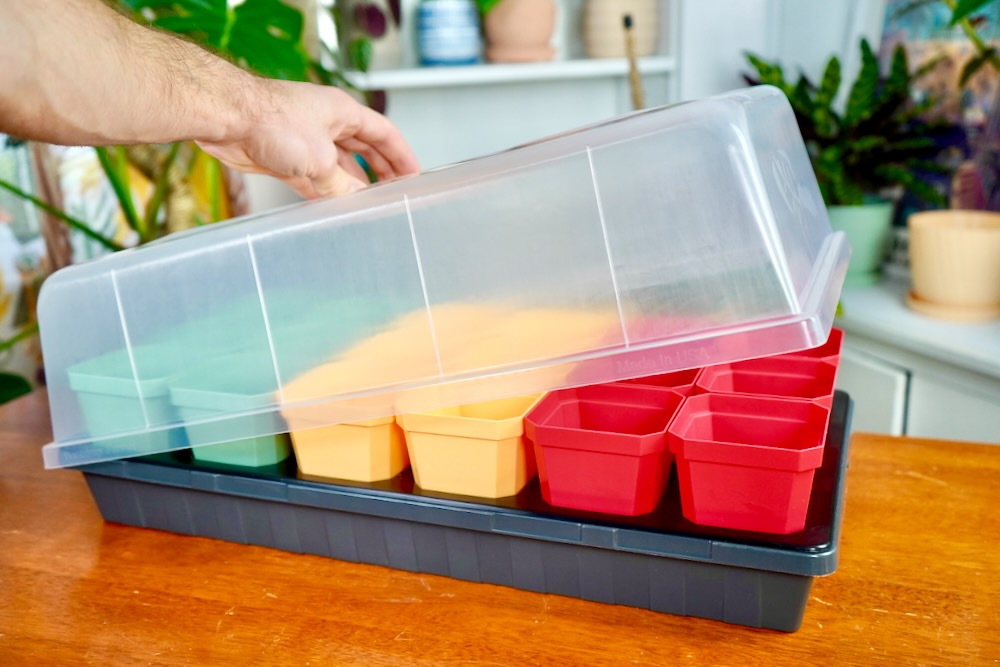
- Extra-strength 1020 tray in smoky gray (1)
- Extra-strength humidity dome (1)
- Tray insert (1)
- 3.3″ pots in sweet green (6)
- 3.3″ pots in sunblaze gold (6)
- 3.3″ pots in ember red (6)
- Jimmy Nardello pepper seed packet (1)
- Big Jim pepper seed packet (1)
- Santaka pepper seed packet (1)
The trays and pots are thick and durable, made to last many years, not just a single growing season. They are also designed for ease of use, each pot with its own punch-out hole in the bottom for easy transplanting. Oh, and everything is made in the USA.
About the pepper seed varieties
We chose 3 pepper varieties to include with our kit, one sweet pepper, one mildly spicy, and one hot. Whatever your spice tolerance, all of the varieties are delicious and useful in the kitchen.
Jimmy Nardello (sweet) – This Italian heirloom variety is one of our all-time favorite non-spicy peppers. The plants grow strong and fast, producing an early crop of 8-10″ long red peppers. We recommend you plant these in the sweet green pots.
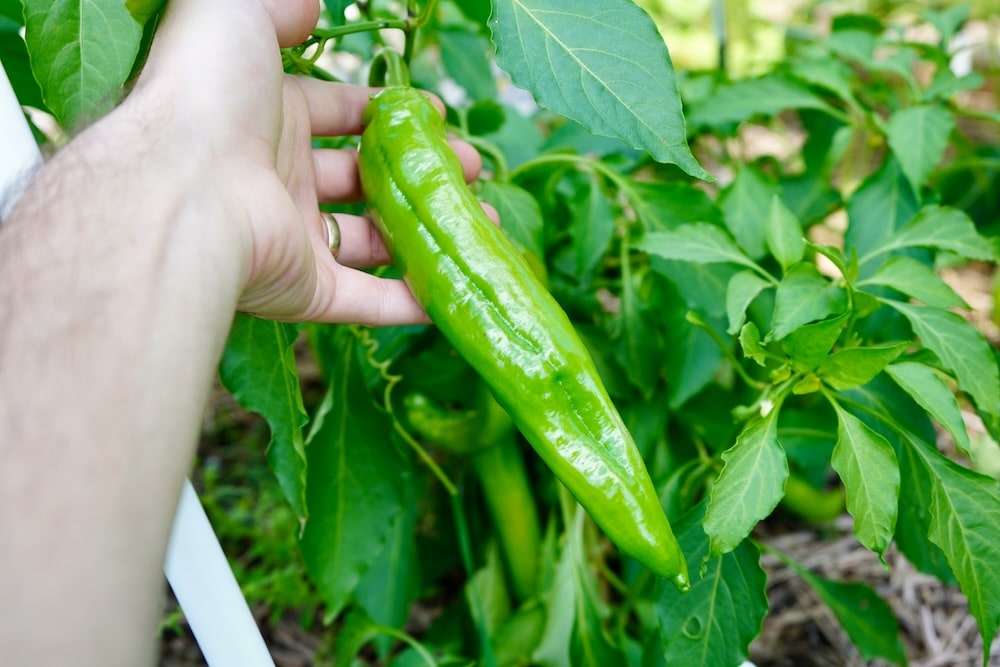
Big Jim (medium spicy) – One of the most popular hatch chile varieties, Big Jim has a mild-medium heat level. These peppers are traditionally picked unripe (green), roasted and peeled. We particularly love them in mac n cheese. We recommend you plant these in the sunblaze gold pots.
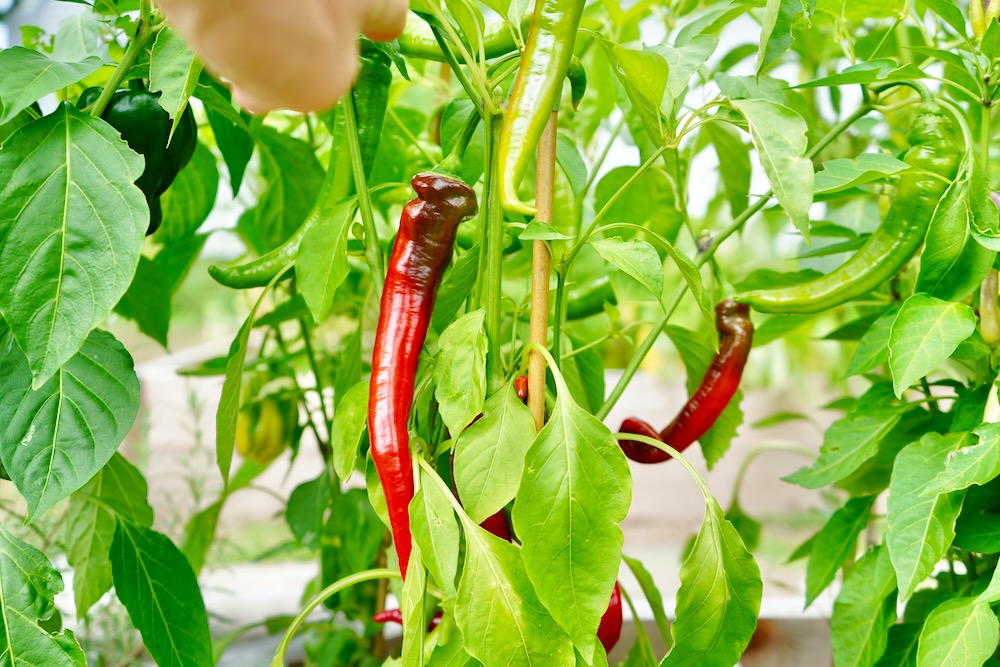
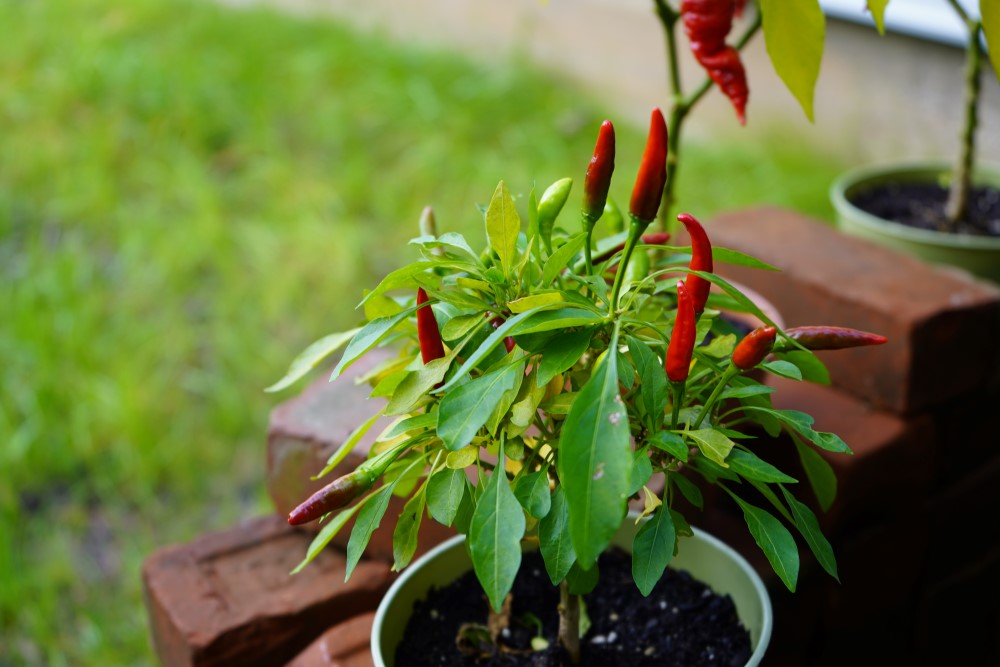
Santaka (spicy) – If you need extra heat, the Japanese santaka variety will deliver. This plant is unique in that it produces clusters of 2″ peppers that point straight up. The plants also tend to have ripe and unripe pods available throughout the summer and fall. We recommend you plant these in the ember red pots.
Growing Instructions
With your kit in hand, it’s time to get growing! Here is a simple guide to using the Pepper Geek Starter Kit.
Germination:
- Label your pots. The pots can be color coded if you’d like (green for sweet, yellow for medium-heat, and red for spicy). Otherwise, add a label to your pots and note where each variety will be planted.
- Fill the pots with soil. Pre-moisten your favorite potting soil by mixing with water. Aim for a wrung-out sponge consistency (not too wet). Then, fill each 3.3″ pot with soil, leaving about 1/2″ of space at the top.
- Plant the seeds. Using the end of a pen, make a ¼” deep hole in the center of the soil in each pot. Drop 2 seeds into each hole, covering it with the surrounding soil.
- Mist or water gently. After all of your seeds are planted, gently mist the surface of the soil. This will ensure good seed to soil contact for the best germination rate.
- Cover with the humidity dome. To keep the seeds from drying out, cover the tray with the included humidity dome. Close the top vents to keep the interior as humid as possible.
- Place the tray in a warm location. If you have a seed heating mat, now is the time to use it (we set our temperature to 80°F for germination). Otherwise, find a warm spot in your home to sprout the pepper seeds.
- Fan out the trays daily and check for sprouts. Every day, lift the humidity dome and allow fresh air inside. If any of the soil becomes dry, spray it with water to re-moisten the seeds.

Pepper seeds usually take between 5-7 days to sprout, but can take longer if temperatures are colder. Keep it warm and prevent the soil from drying out during the germination process.
After sprouting:
Once your seeds do sprout, remove the humidity dome and get your plants under bright light. This can be under an LED grow light or in the sunniest window in your home. If using grow lights, set them to come on for 16 hours per day, and off for the remaining 8 hours. The distance of your lights to your seedlings will vary by grow light, so check with the manufacturer for recommendations. We keep our ~100W LED grow light around 15 inches from our seedlings.
Water the plants deeply, allowing excess water to drain away from the pots. Lift the pots to get a sense of how heavy they feel when wet, and how light they become when dry. Water only when necessary, usually every 2-4 days depending on humidity. Keep in mind the plants will use less water when they are very small, gradually consuming more as they grow larger.
Avoid over-fertilizing your seedlings. As long as your potting soil contains some nutrients, the plants should not need any additional fertilizer while they are growing in your 3.3″ pots. Simply keep the plants watered
If possible, set up a small fan to help circulate air around your plants. This helps strengthen the main stem of your pepper seedlings early on.
Hardening off:
After a 4-6 weeks of growth indoors, your plants should be ready to make the transition outside. This requires hardening off the plants to the outdoor elements (sun, wind, precipitation). Start on a cloudy day with temperatures above 60°F and bring your peppers outside for about 30 minutes. Then, bring them back indoors for the rest of the day. Afterwards, increase outdoors time by 30 minutes each day. Only introduce direct sunlight after the first 2-3 days of hardening.
Note: Some wilting is natural during the hardening process. The peppers will rebound after moving back into shade or out of sunlight. Avoid prolonged periods of wilting to prevent leaf scorch.
Avoid cold days, and continue hardening off for at least 1 week, ideally 2 weeks until the plants can handle full sunlight, all day long.
Transplanting:
As your plants begin to outgrow their 3.3″ pots, they should be transplanted into their final growing location. This could be a larger container, a raised bed, or directly into the ground. You can transplant anytime, even during hardening off, as long as your plants won’t be exposed to cold temperatures (below 55°F).
Once your local forecast shows overnight temperatures consistently above 55°F, you can safely keep your pepper plants outdoors for the season! Find a sunny location with either full sun (8+ hours daily), or partial shade in the afternoon.
More growing info:
For a more detailed guide to growing peppers through to harvest, check out our grow guide.
Cleanup and storage
After your Starter Kit has done its job, it is time to clean it up for use next season. The trays and pots are dishwasher safe on the top shelf (just turn off heated-dry function to avoid warping).
Or, you can use warm, soapy water and a sponge to clean up your pots and trays for winter storage. Allow the tray and pots to dry before storing. Bootstrap Farmer products can last many, many years with proper care, so your kit should be around for quite a while.